Up until this point I've mainly been working on Eldar troops - that now changes with some bigger heavier support, and the things that move on big legs. Three war walkers, two wraithlords. Plus all of their many, many weapon options. Part 1 on construction & magnets.

While by no means the same type of unit in game, there are some common elements to the walkers and wraithlords that made sense to do these as a batch. Apart from the similar size/painting dimensions, they use the same base sizes, and more importantly - have a common design of heavy weapon, so magnetising and engineering these will give me a pool of sharable weapons. I'd decided to go with 3 walkers because rule of 3; while the 2 dreads came with the eldar apocalypse box of wraithguard I bought a couple of years ago.
Starting with lots of chopping and cleanup of the 'hub' parts first.
May be overkill, but there is a particularly ugly seam at the front of the walker cockpits. These have been filled with tamiya putty and then sanded flat.
Magnetising is something I usually do early on in construction - it's often easier to do the more intrusive drilling and fitting before pieces are plastic glued together. Not as important for the heavy weapons (since they aren't glued to anything at all), but as I already have some guardian support platforms these can at least get the magnets inserted the same way and make them all interchangeable. When it's time to do the mounting points on the dreadnoughts everything will have the right polarity in place.
I clip off the long tabs on the weapons and sand them flat. Some folk swear by just pushing the tabs into weapon sockets with no magnets - I'd rather go hardcore as friction alone can fade over time.
Two pilot holes, about 1-2mm from each end.
Repeat 4000 times.
Widen this out with the mid sized GW drill bit.
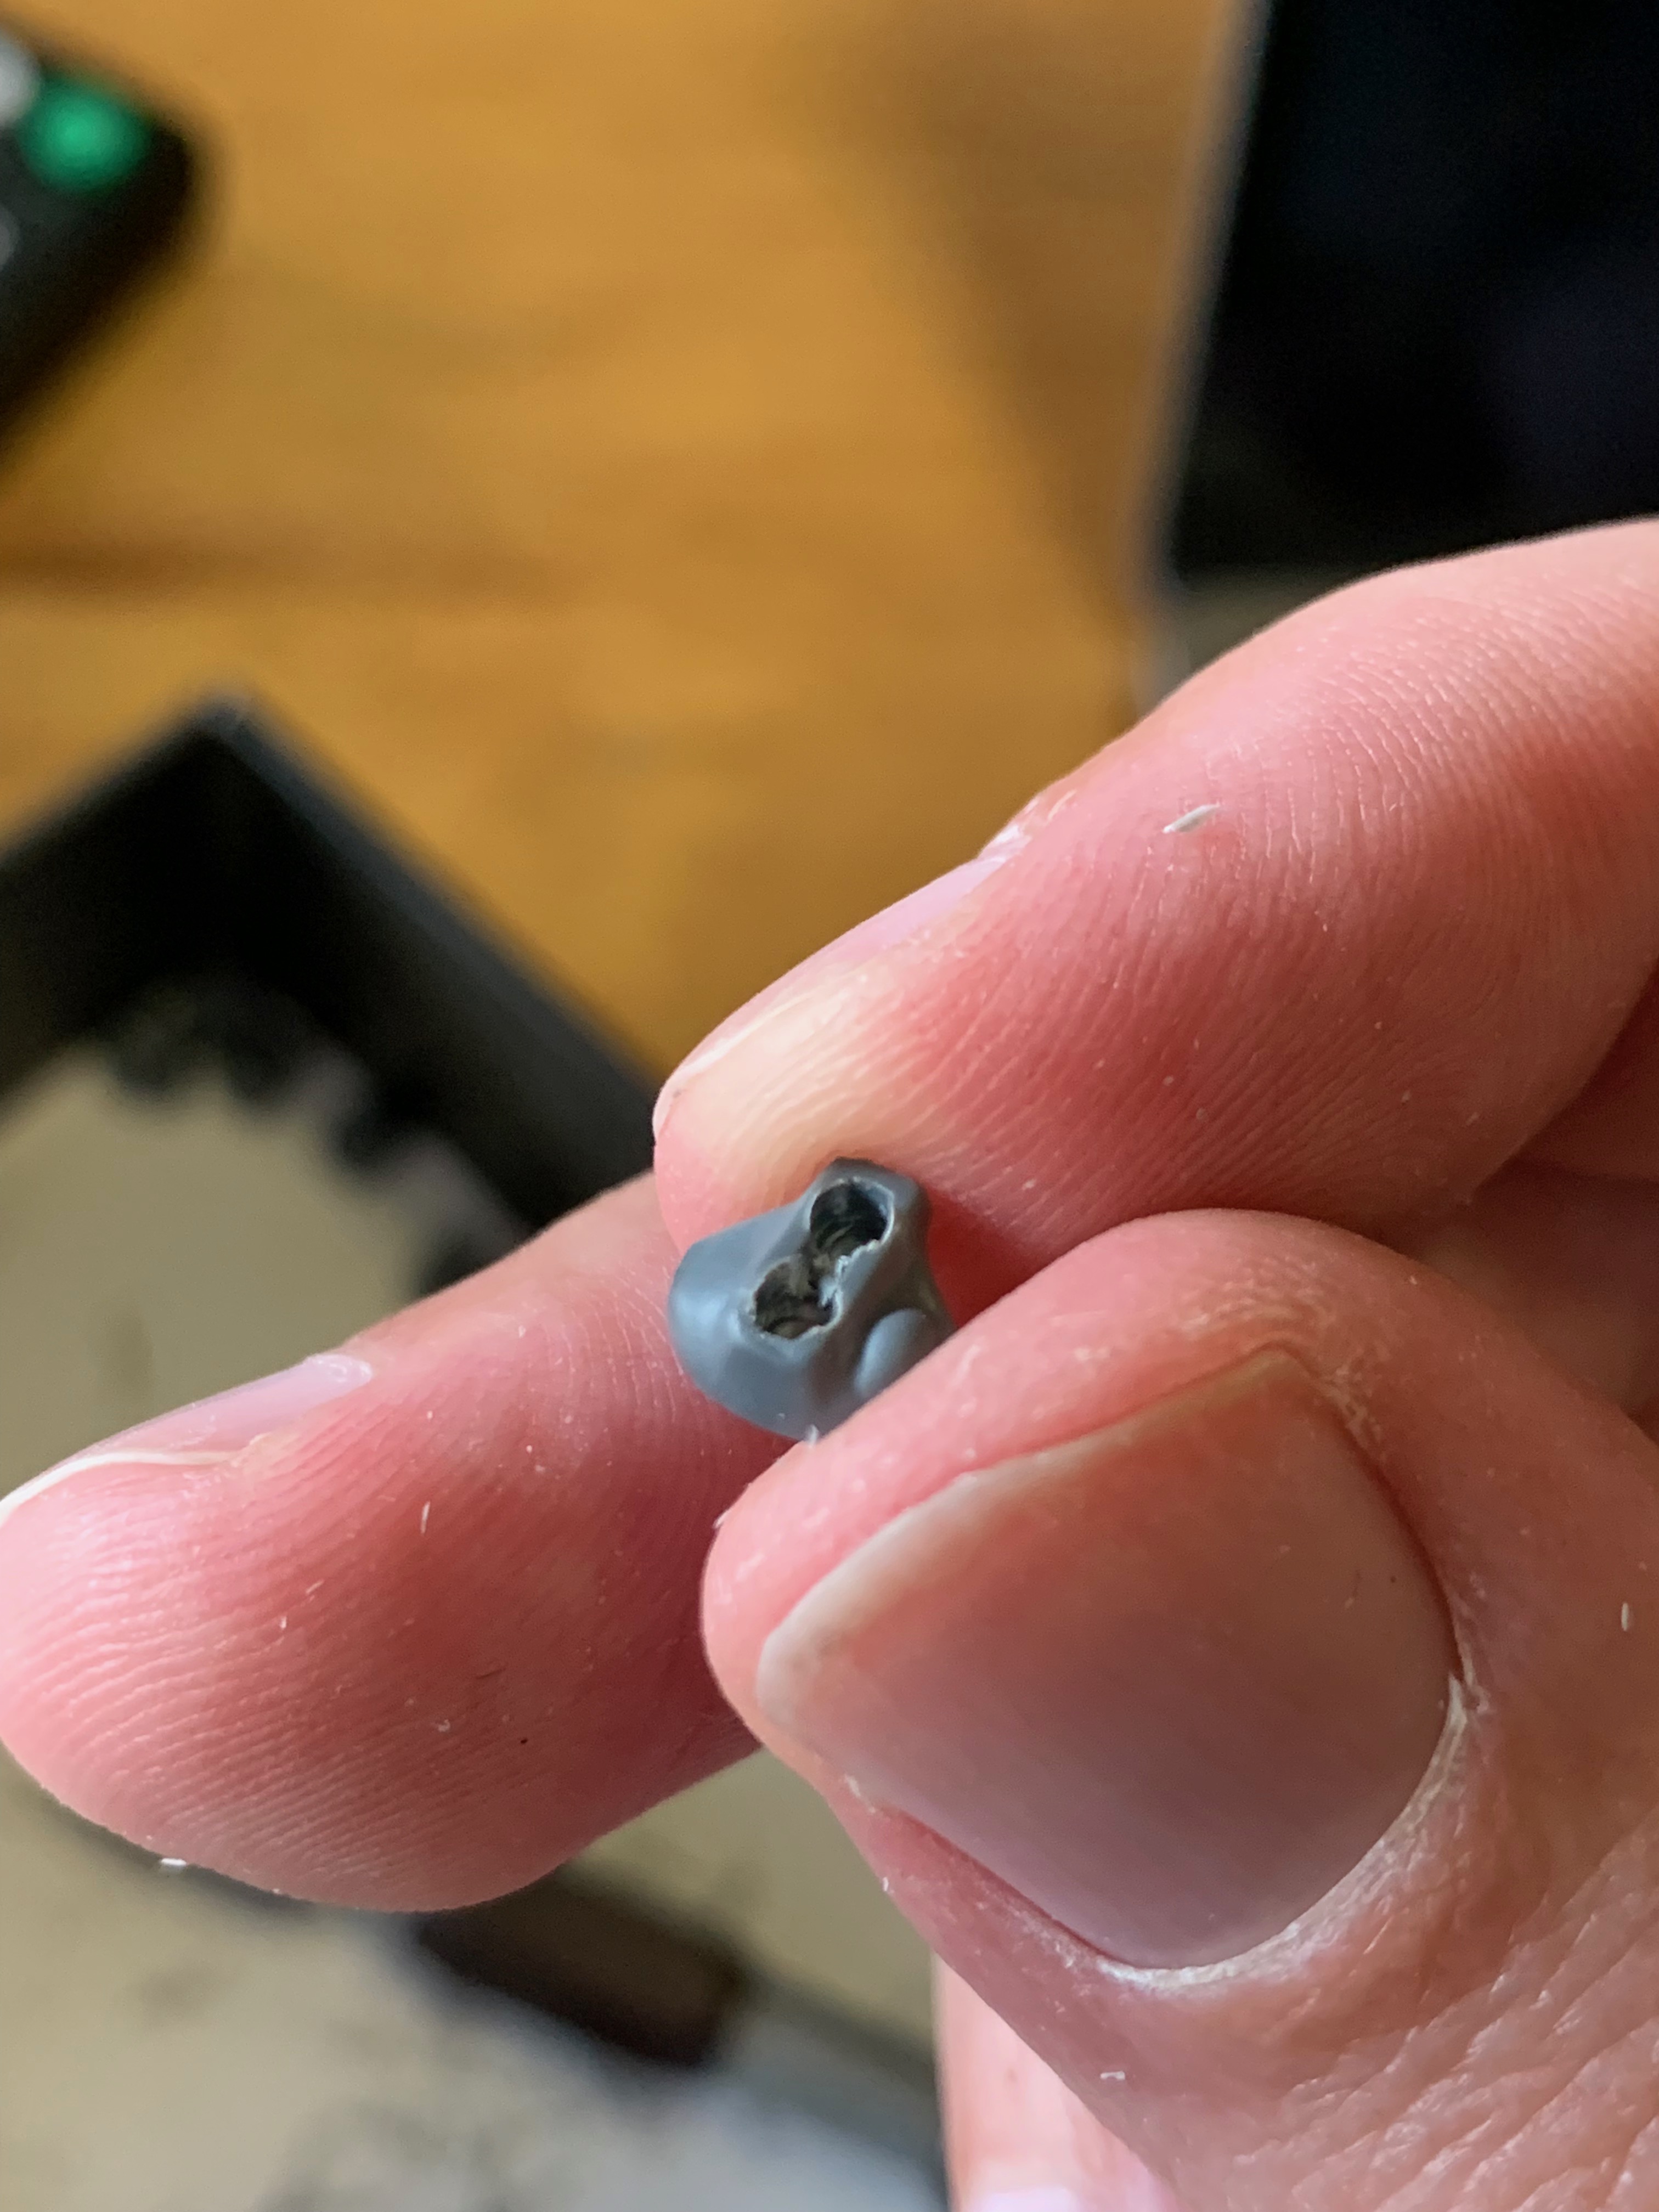
Widened out to 2mm holes. For ref, here is one that was a fraction off centre and you can see that it's chewed part of the side away. This isn't the end of the world - once the magnet is in, the main surface will be pretty flush, and there will just be a bit of bump on the side with the magnet. It's not very noticeable under paint - although of course, better to take the time to line up the pilot holes carefully in the first place to keep everything neat.
Good result should look more like this.
The reverse is done on the mounting points for both the walkers and the dreadnought shoulder mounts. This is one of the dreadnoughts - 1mm pilot holes are pretty easy to line up against the end of the slot. They are then widened out with the 1.5mm and eventually 2mm bits.
It doesn't matter if they aren't exactly the same distance apart as the ones in the weapons - however the further apart, the better. If one magnet is 1/4 of mm above the surface when the magnets are 1cm apart, you'll barely notice a difference in angle of the weapon. However if a magnet is 1/4mm higher than the other one when the magnets are right up against each other, it will probably kick the weapon 10-15 degrees rather than being flat/straight.
Terrible focus photo on a glass dining table... that's 6 mounts for the walkers and 4 for the dreadnoughts.
Install several thousand magnets on heavy weapons. All of these are 2x2mm and as strong as can be found.
One of the interesting challenges with the walkers is getting a good angle on the legs. I want the er... tail stabilizer(?) to be horizontal on all of them, and not leaning left or right. At the same time - can I give each one a slightly unique, dynamic pose *and* also match it the terrain features on resin bases. This is made somewhat more challenging by the hip and ankle joins being very mobile - running out of fingers trying to hold all 4 joints in in place to test a pose.
This pic is me trying to get the right pose on the 'easy' flattest base - I can't quite get the left hip angle right and the left toes are popping up off the base. After much adjusting of angles these were finally glued at an angle I liked, then then the circular rod through the hip was sanded flush to make it all look like one part.
Repeat several times with each walker until happy. Immediately take a photo so that I can work out which legs go with which base later on.
The similar part of the dreadnought setup is the shoulder joins - these will be magnetised onto the arms, and the rod that goes through the torso is easier to work on while the pieces are separate. The shoulders are almost a ball and socket join - which gives heaps of range of movement if you are gluing the arms in place. I'm sacrificing some of that range of movement by installing a flat disc magnet - the tradeoff being I can swap the different types of arm altogether.
Pilot hole, 2mm hole, and then a 3mm hole for a 2mm thick disc magnet. Because there will be a disc magnet inside the cup of the arm, I'm ok for the magnet going into the body to be a bit more sunken. That way the arms won't protrude much further out than if they had just been plastic glued together.
The rest of the smaller pieces to be magnetised - hands get a simple 2x2mm magnet in the wrist. The forearm weapons are getting the same setup as the heavy weapons - 2 magnets roughly 1cm apart.
The swords are something of a challenge - there really isn't much more space to fit anything other than a 2x2mm magnet in the wrist, however that isn't much to keep a long object from rotating in place. Will just have to live with it - if the sword droops at the wrist, that's the pose it will have.
With all the main magnets done, I can glue together the torso halves for the dreadnoughts. You can just about see the white of some tamiya putty around the edges of the magnets. I ended up putting a bit of this on to help really cement the magnets into place.
There is a third part to the torso - a back panel with 2 holes to fit tabs on the main body. The friction between these is strong enough that you could probably just press fit them together - I'll make these more permanent though.
I was tossing up a bit on what decorations to add - like with the wraithguard there are different loin cloths and banners that can be used. I've cut out a few to clean up - the loin cloth definitely being used which will match the finished wraithguard. Then some of the others for decoration.
Since I was adding so many anyway... a final magnet in the neck join. My wraithguard have the heads glued in place, but these 2 can be posed. I figure since the arms and weapons have multiple poses, being able to adjust the angle of head will be helpful later on.
Bodies starting to come together. Magnets doing a reasonable job.
The legs and posing have the same issues - ball and socket joint, lots of range of movement. Great for posing and all that. I've ended up going with a relatively neutral (boring) pose for these 2 - since I've added weight with magnets and parts at the top, I was more concerned about having both feet really well anchored to the base than achieving something like a running pose with one leg up.
The base on the left has some interesting sloped angles to it - the feet were carefully aligned to match this and then plastic glued into place. Bases and feet have been drilled for pinning - base and model are being painted separately before than join.
All the parts being setup for painting - pinning rather than basing the walkers makes it much much easier to get an airbrush into certain angles.
We'll split the rest of the photos into a new post for the painting stages from here.


No comments:
Post a Comment