The tanks are coming together - now into the finishing phase.

I always like the point where it's time to add decals - it adds a sudden extra polish and everything starts to look close to finished. I've been thinking about how to keep them consistent across all the tanks - common markings in several spots with just a couple of differences for specific units.
Starting with the harder one first - the Falcon. The classic 1998 studio version had a black falcon icon on the back door, biel tan markings on the sides and the eldar text blocks on the tubes at the lower front. I'm also keen to add several of the tiny icons as kill markings on the gunner turret.

The designated falcon hull I am using is the one with 2 stripes - the only specific marking on the body is the black falcon on the back. The turret is removable anyway.

The turret starts with a biel-tan style icon at the top; then I've lined up the first marker for 2 coloured rows below. Should be able to get 3-4 on each row to make it look tough. I like the idea of these things actually having in game purpose - adding an icon when the tank actually has a couple of key kills in a game, building up kill markings over time. Given I'm covering these with varnish layers though - we'll just have to assume there are future heroics that these count for.

While the first couple are trying on the turret, I've gone around all the green upper hulls and added the biel tan style square panel next to the driver compartment. These fit the area really well.

Extra markings added to the falcon turret, as well as the big biel tan icons on the side of the engines. I had though about adding the biel tan logos on the panels that are on the front arms of the tank - however it looked like putting them further to the back would help balance out the white stripes at the other end.

For the prism/spinner turrets, I've added just a couple of minor tags - a heart design on the side. These could maybe have benefitted from a few kill markings on the driver cabin - though I suspect that there will be enough stuff going on once the weapons are in place.

For the fire prisms, I thought I'd carry the heart icon over from the artillery for starters. I've also always thought that the wave serpent turrets are some kind of AI... they are the only turrets in the eldar tank family that don't have an obvious gunner compartment. So - also adding an infinity circuit marking too.

With all the decals down, these then go off to get a couple of passes of matt varnish to seal them in and smooth out the edges into the hull. The last pieces that need work are the clear bits. The fire prism assembly and then the clear flying base stands need to be glued into place.
The fire prism pieces I wanted to give a slightly crystalline appearance. First time trying something like this so it's all up for debate as to how effective it will be... flicks/stripes with some white scar paint towards the back.

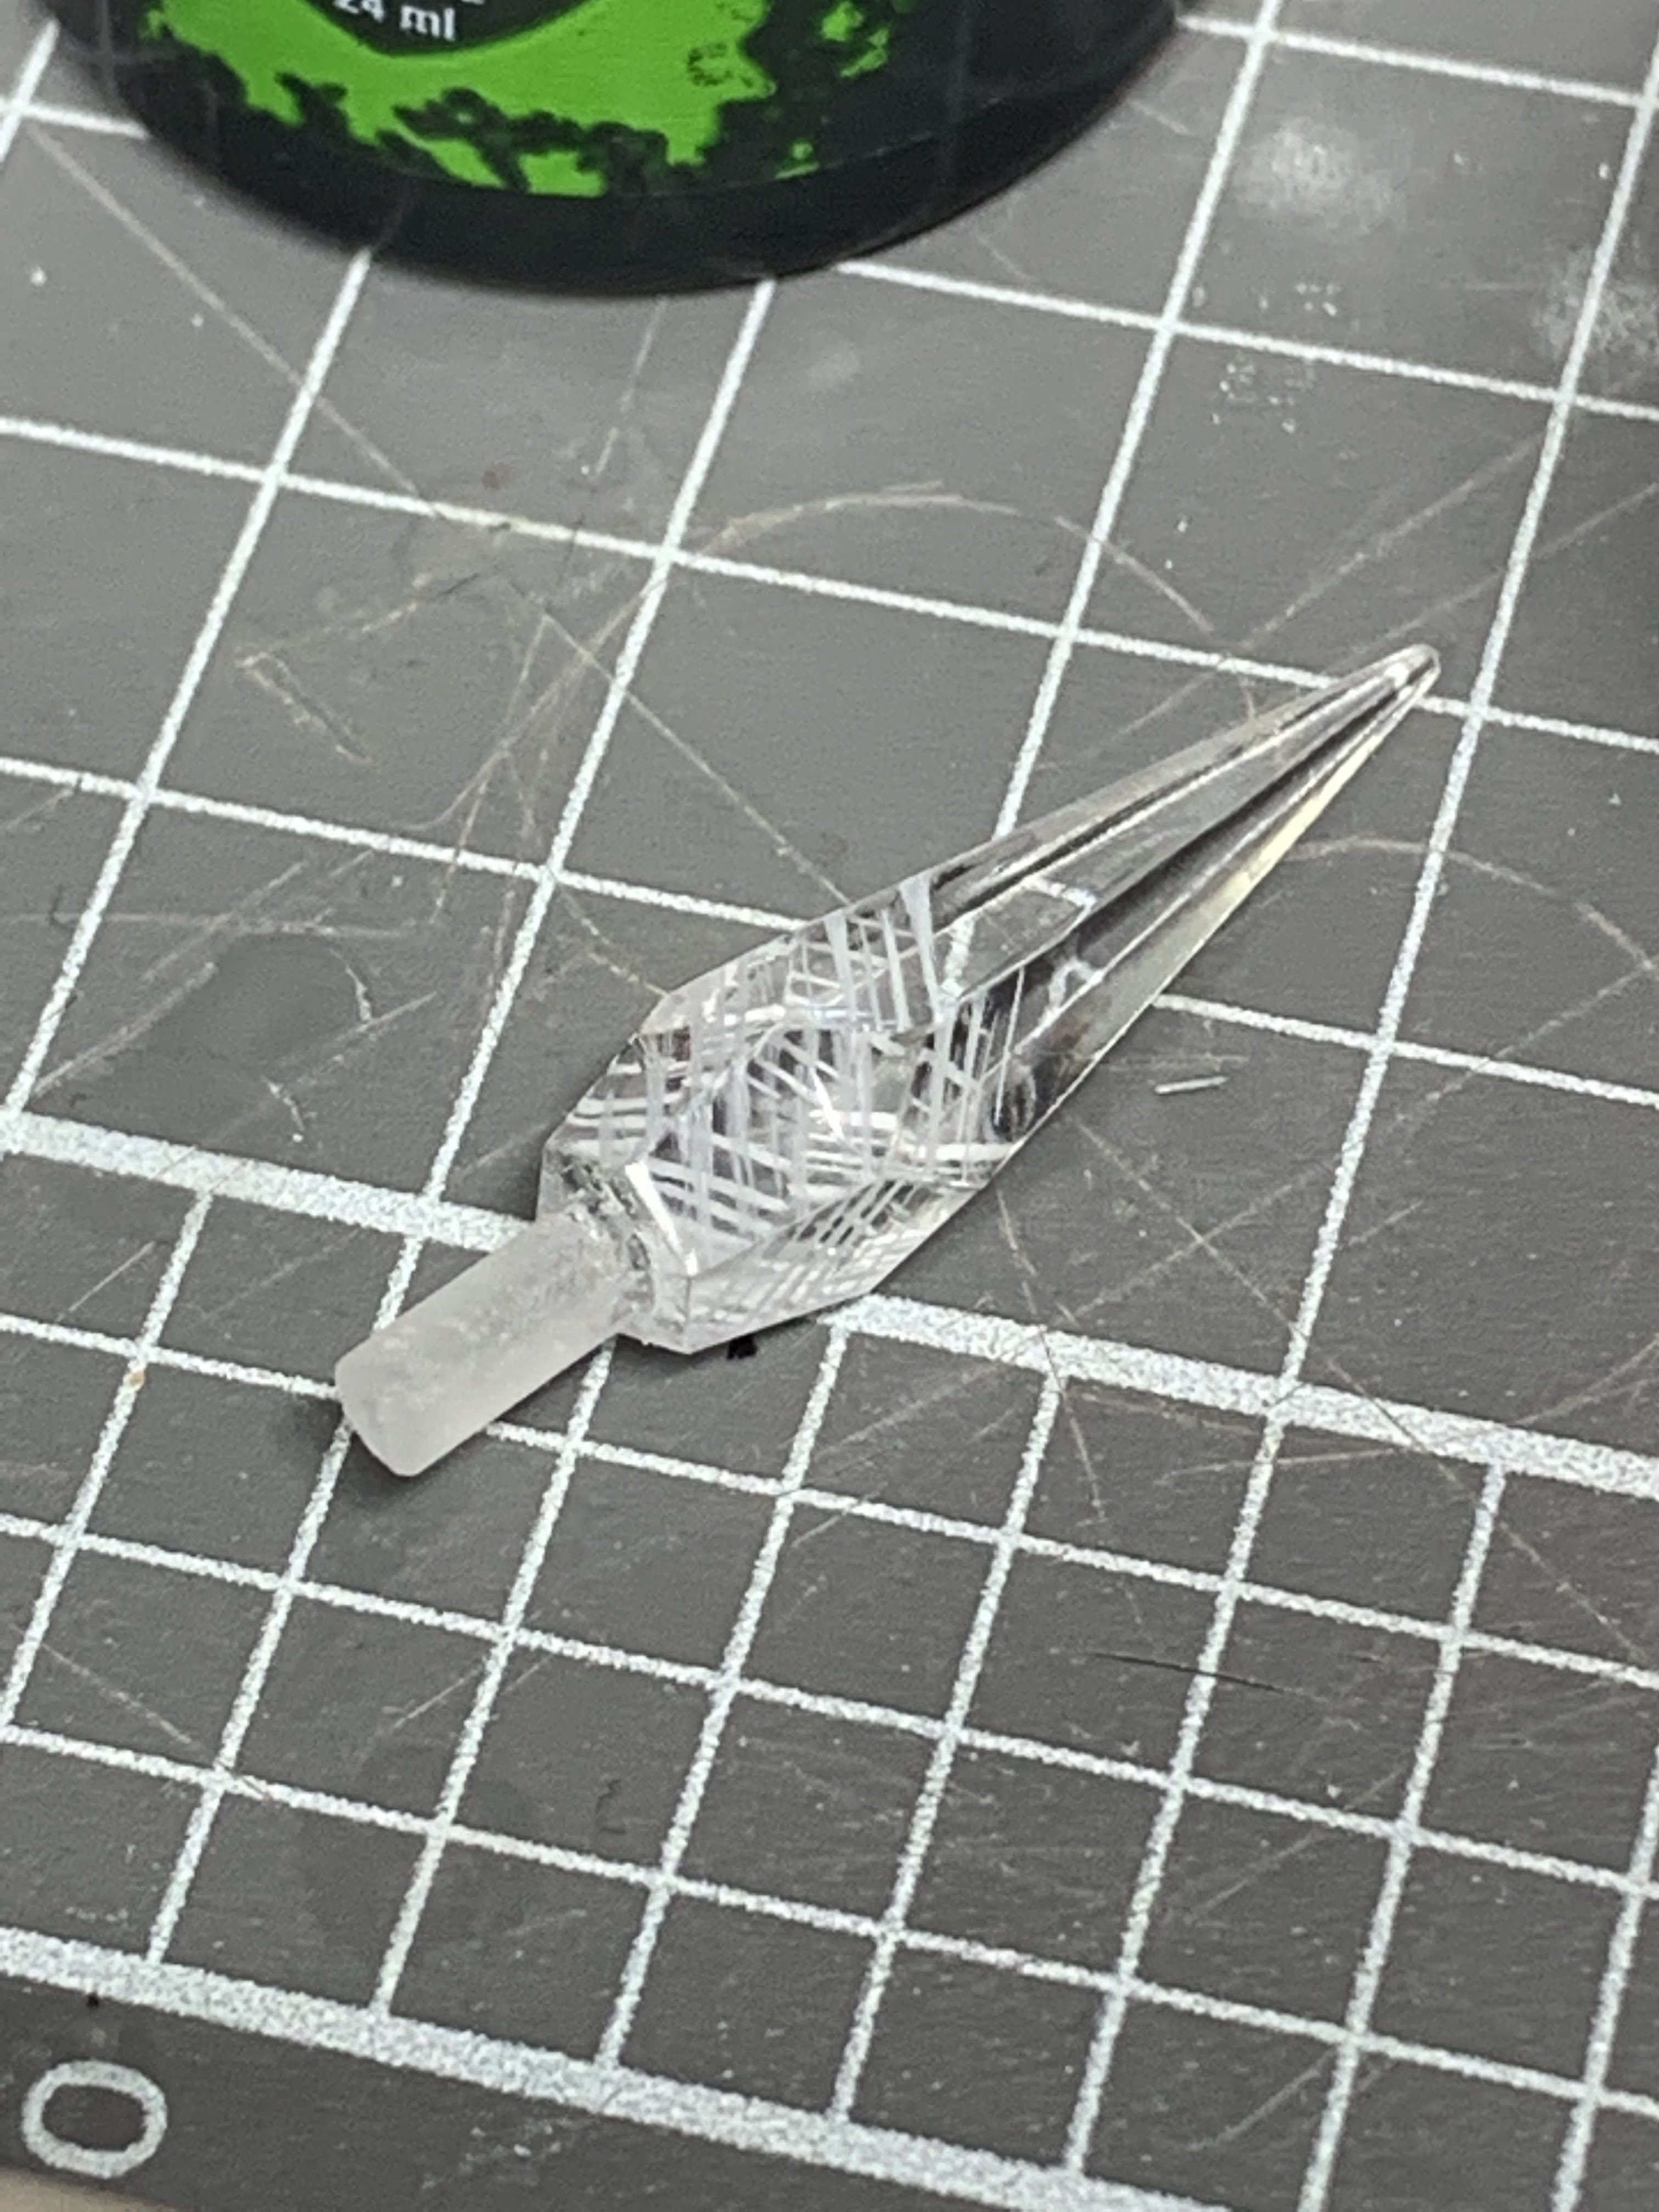
Then brushed over with some vallejo clear magenta. I looked at a few 'clear' types of paint (including contrast) so there would still be a mainly transparent end result. This seemed to come out very light & pink via brush.


Not entirely happy with the outcome, I ended up just blasting the pieces with the vallejo through airbrush*. This took just a little bit of clarity away, and made the colour a lot richer. It's a bit less towards the purple end of the spectrum compared to some of my other accent weapons, but looks like it's still part of the family.
*Note - don't use the good pegs for airbrush work.


This is ~2-3 passes and then left overnight to dry properly. It's clear at the front and with a hint of something interesting at the back. Edge highlighting these white probably would have looked quite sharp - but I think I'm just about done and dusted.

The main crystal I sprayed from the inside - to remove overspray from the outside, I've gone around with a little bit of thinner on a cotton bud to remove it. That way the outside is uniformly glossy and the coat of purple is even.

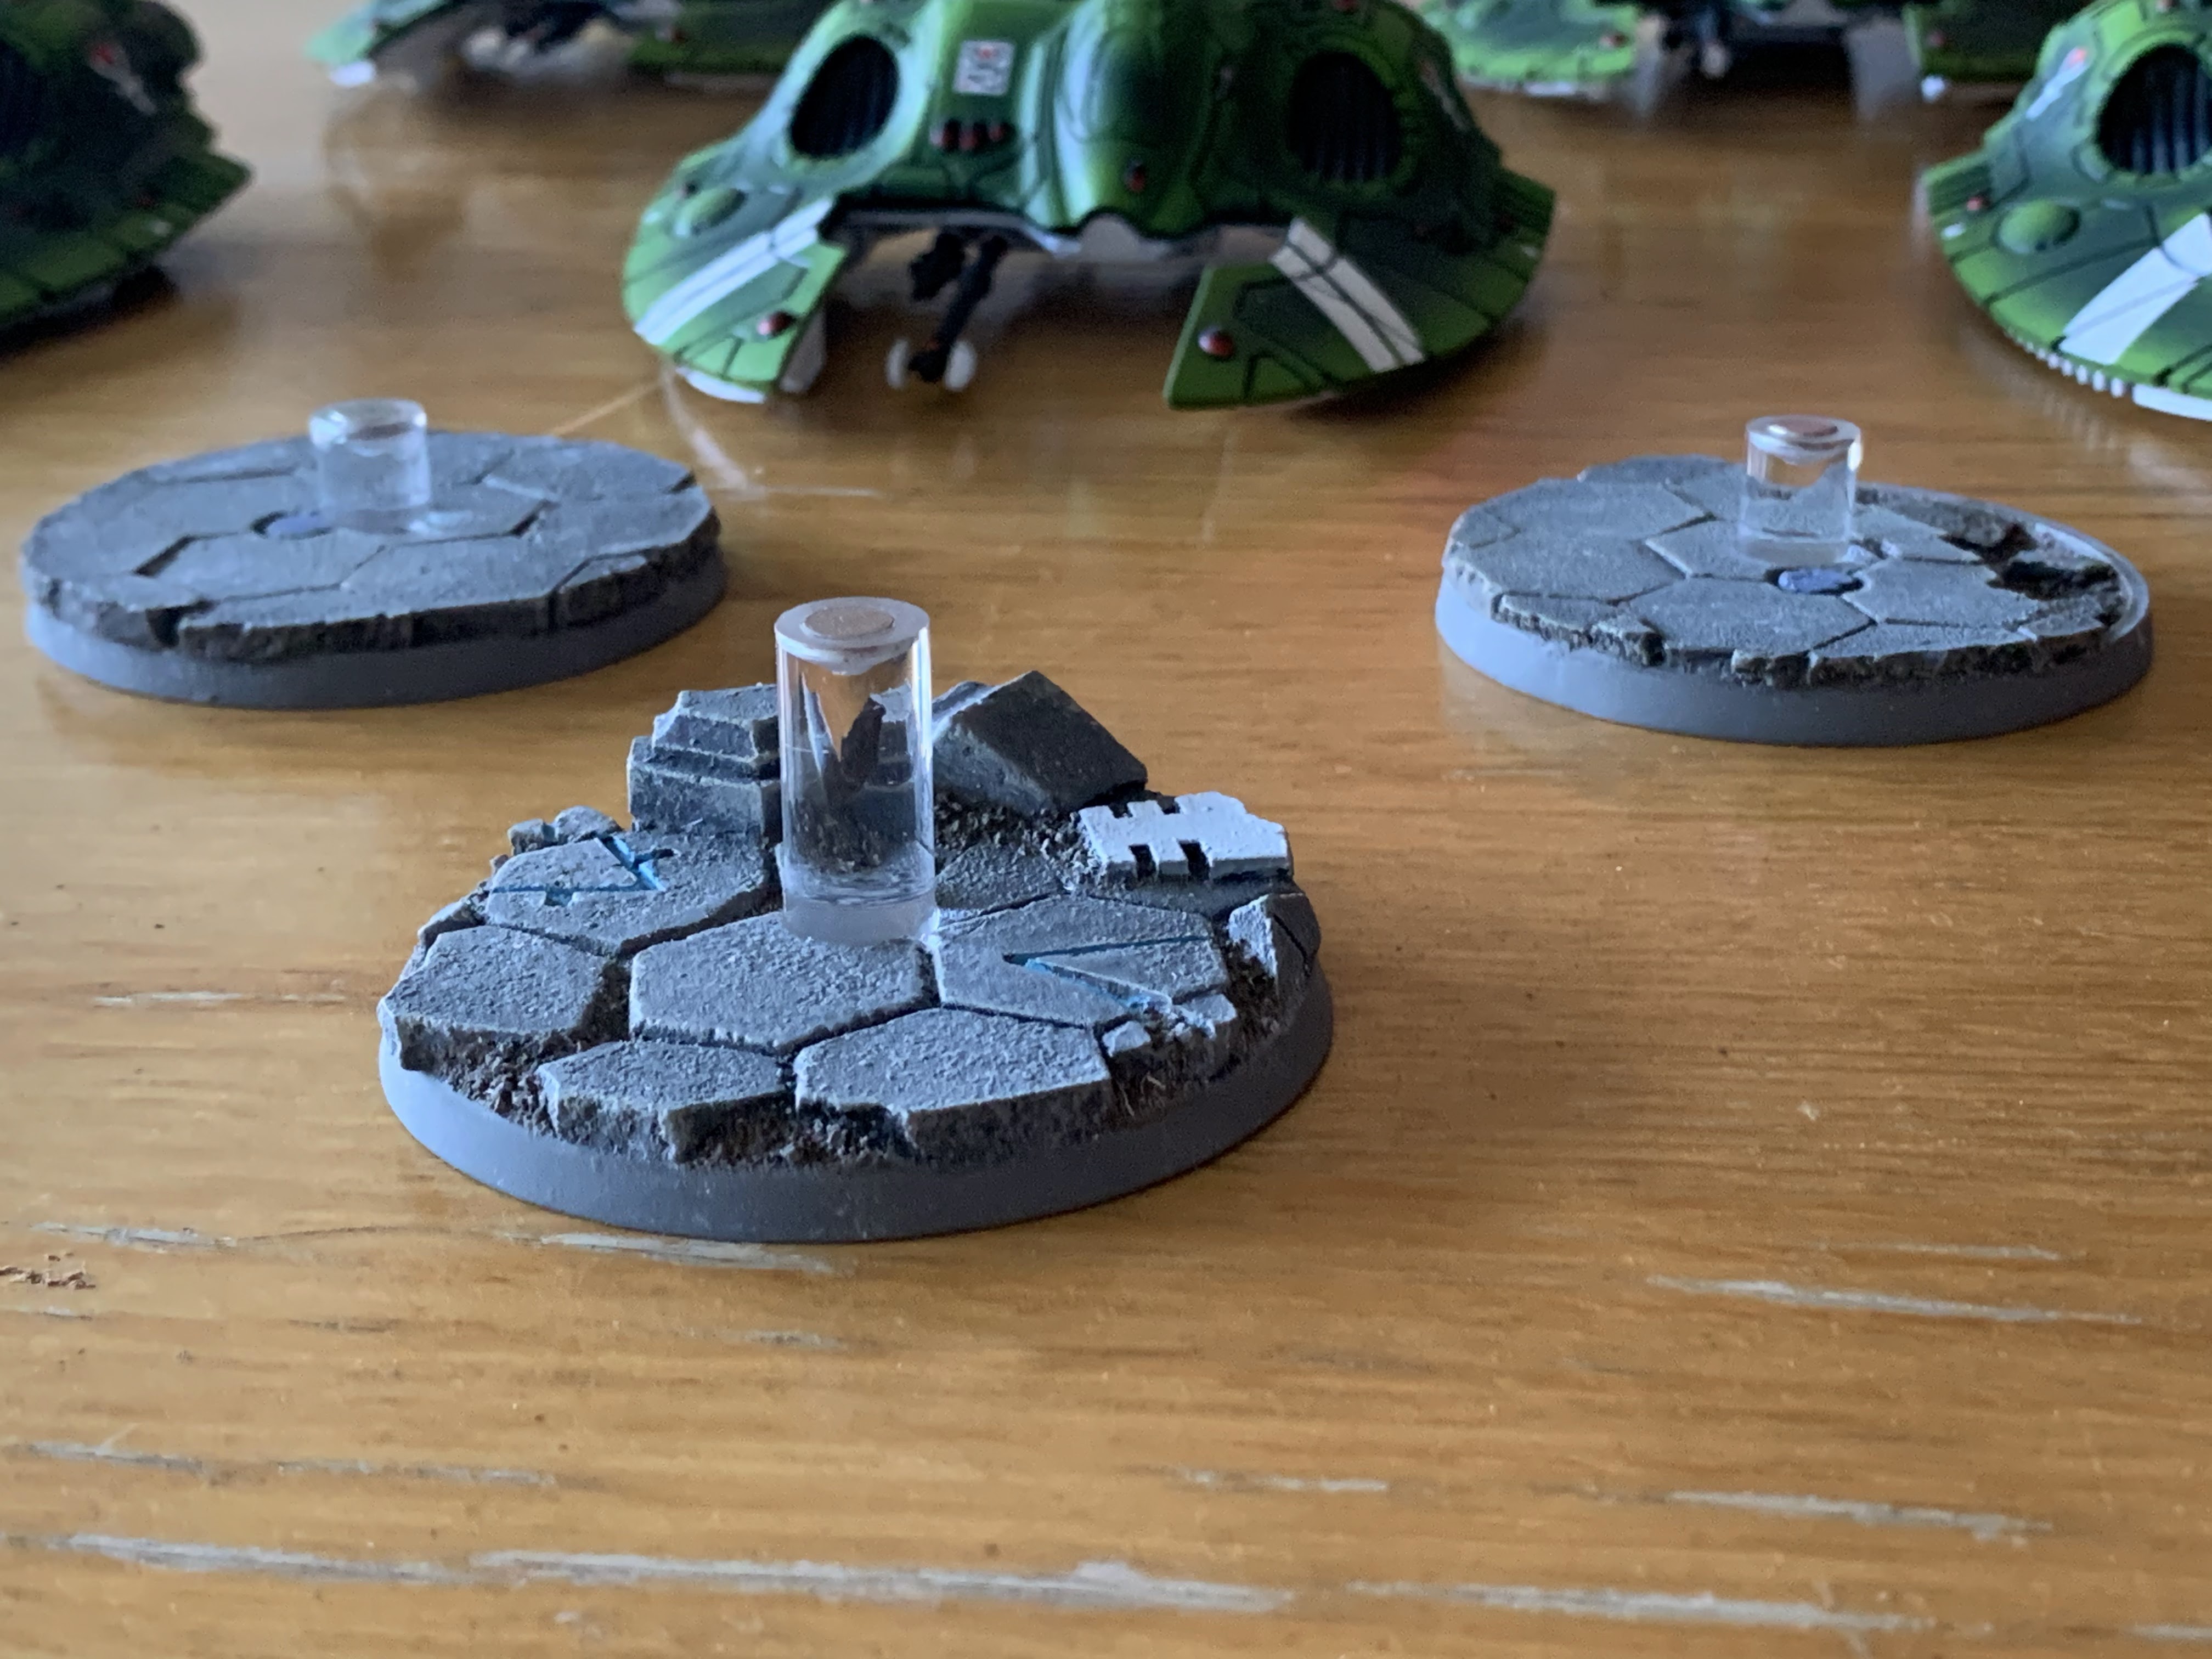
I had the tanks resting on the bases for a few days before gluing the stands permanently. There isn't a perfect height, but wanted to see how much I liked the position in case it was worth shaving a little more height off. As it is - I left the falcon stand a little taller, so that it's a bit more elevated. The difference isn't that noticeable - in practice you could probably make some of these a good 3-4cm higher and it would just look like the tank is flying at a different height.


Last main sequence - I had these laid out (along with the toolkit) and took lots of photos during assembly. The pieces have been kicking around my desk and shelves for a few months now, and the assembly process will lock some of the details away forever.


The rods have now been glued permanently into place in the resin bases - this was done with a cheap tube of 2 part epoxy, only needing a little bit to fill the space between resin and rod.


The last look of the pilots before they get dropped into place.


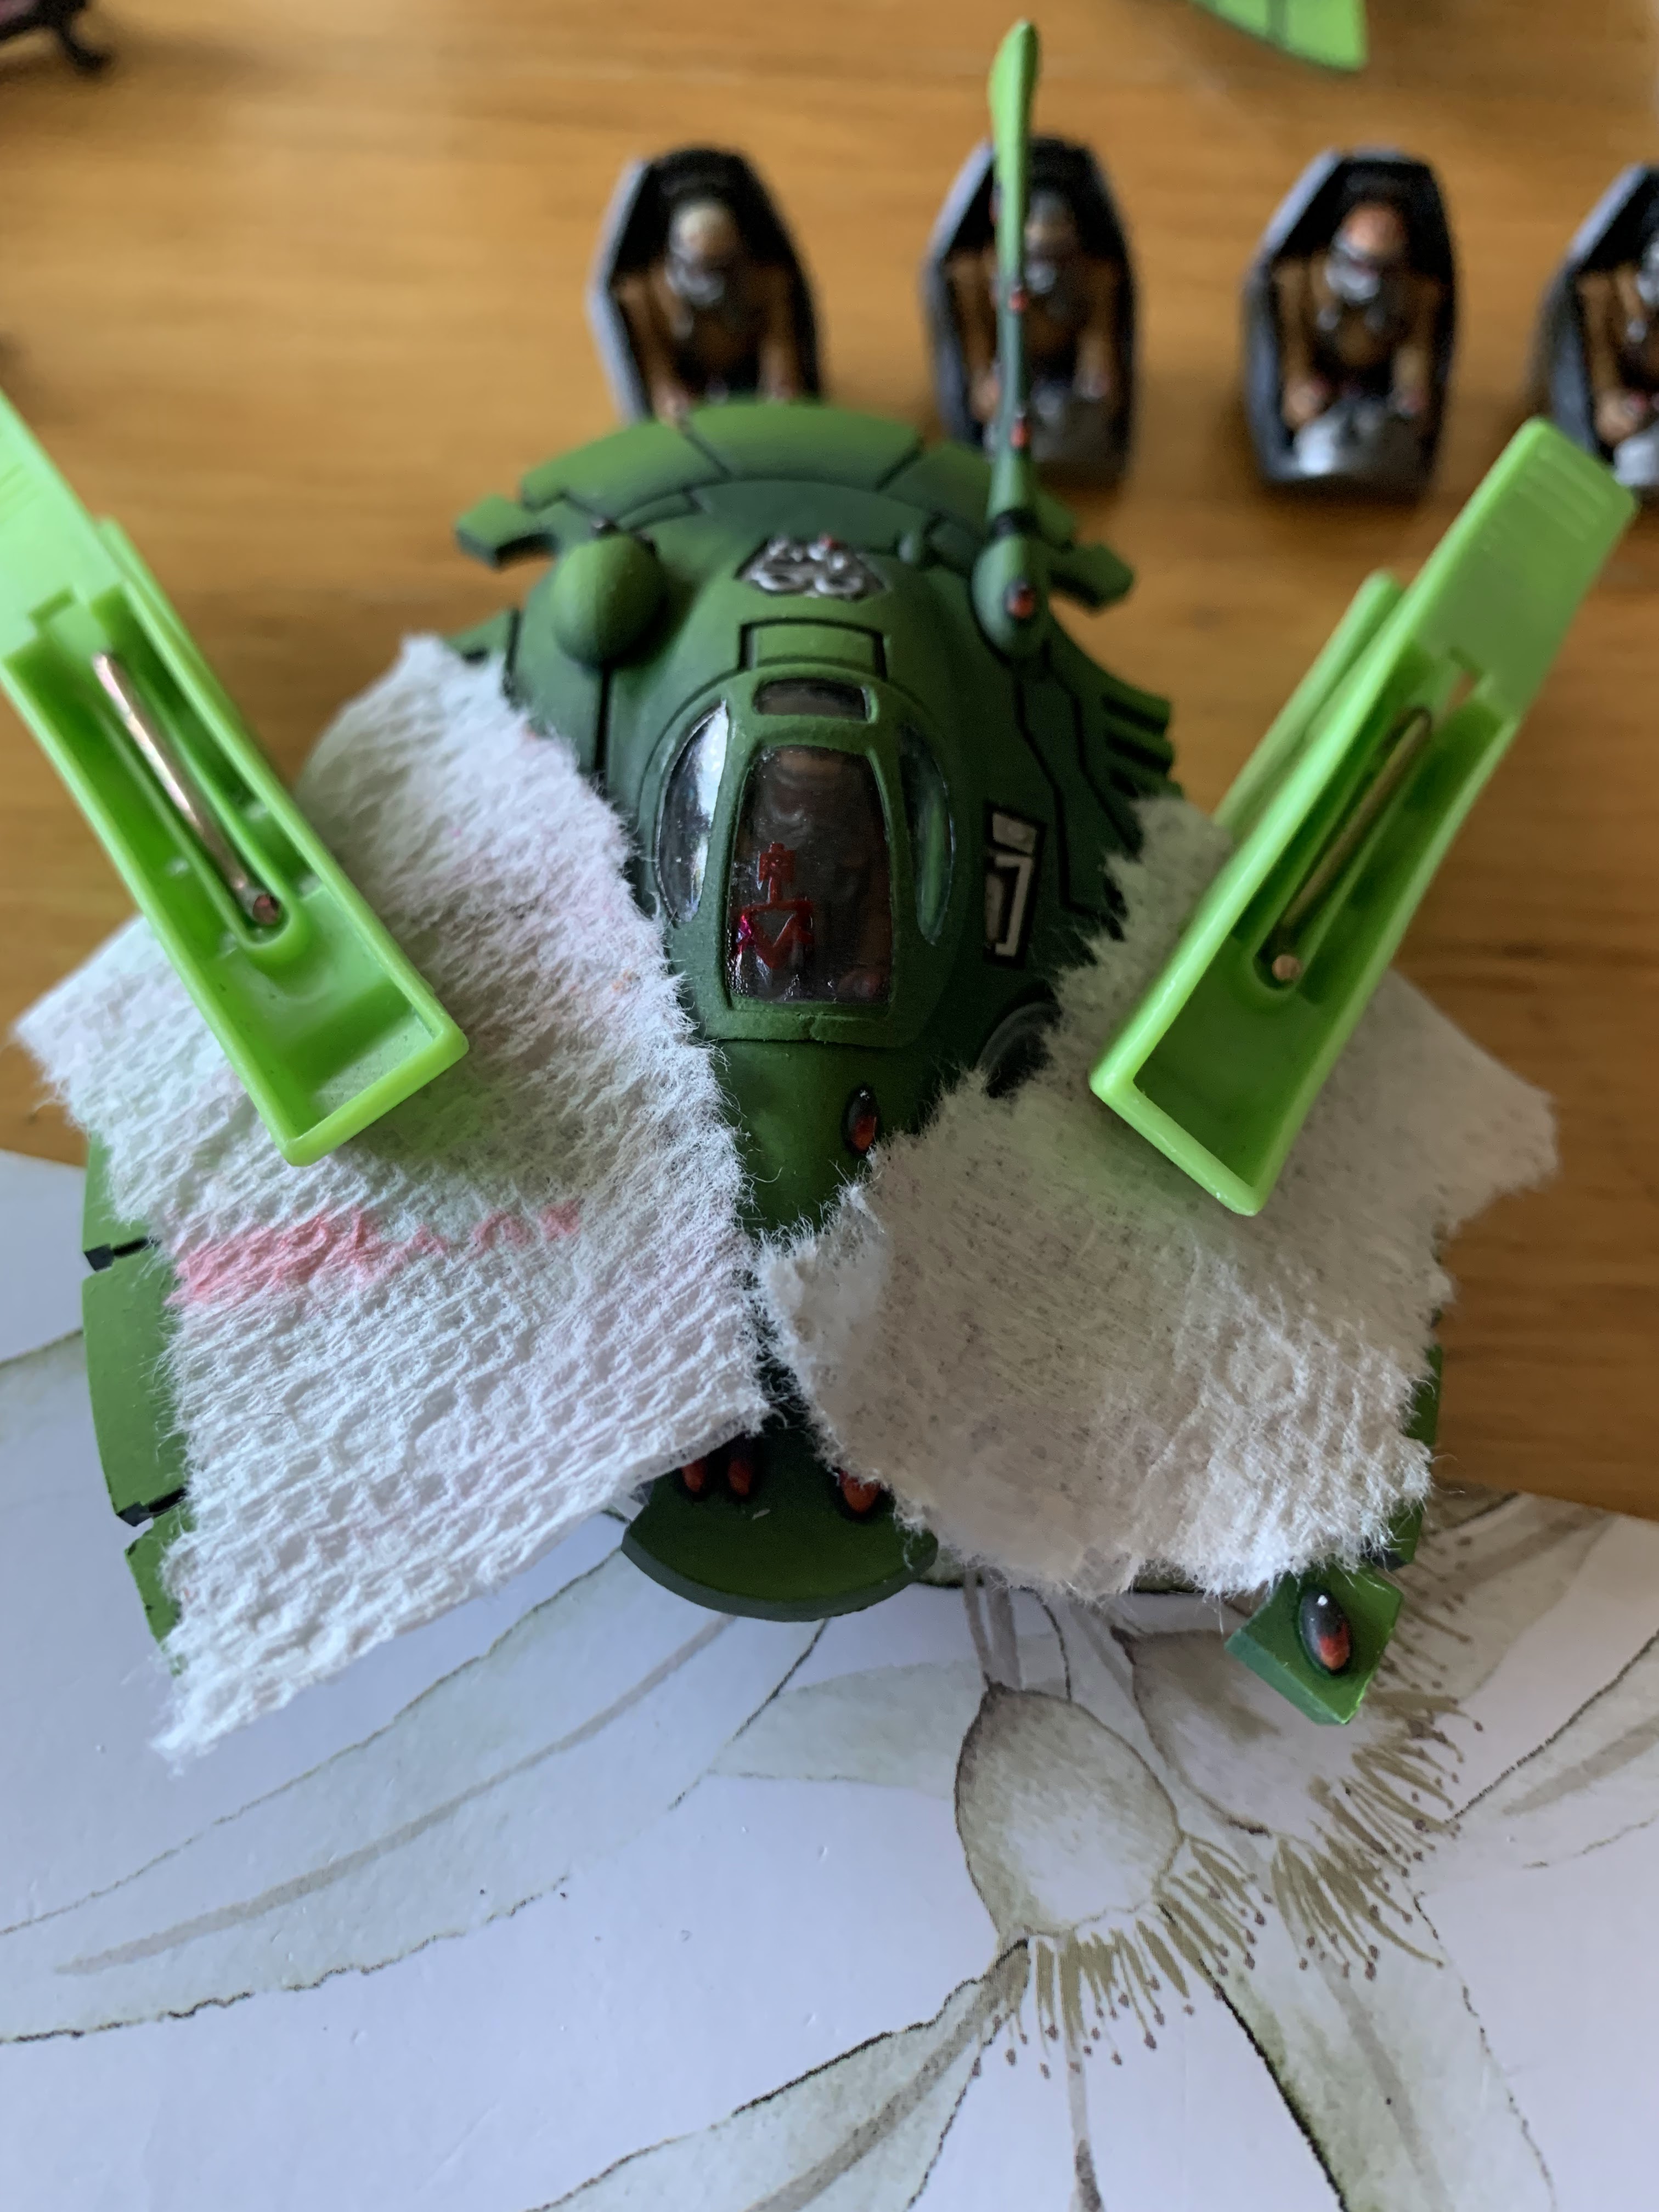
Everything external has had a matt varnish applied now, so it's ok to take the masking tape off the canopies. I've given the inside a little clean with a bit of cloth to get rid of any fingerprints before closure.


The little turrets are pretty straightforward - plastic glue around the edges and then sealing with highly technical equipment during the drying process. The paint should be pretty hardy at this stage with 3 layers of colour, and both a gloss and matt varnish layer in there too. Still using a little bit of tissue to help prevent any scratching.

The underside of the upper hull is *mostly* clean, but there is a little bit of overspray on the underside. To make sure the plastic glue would give a solid join, I went around the edges with a craft knife and scratched/roughed up the area slightly. This should help make sure there is no chance of it lifting away later on.


With the parts ready to go - the hull-canopy-pilot chamber is done first.


The lower hull also has a bit of overspray (in white), and this has been scratched back to grey to help the glue bond together.


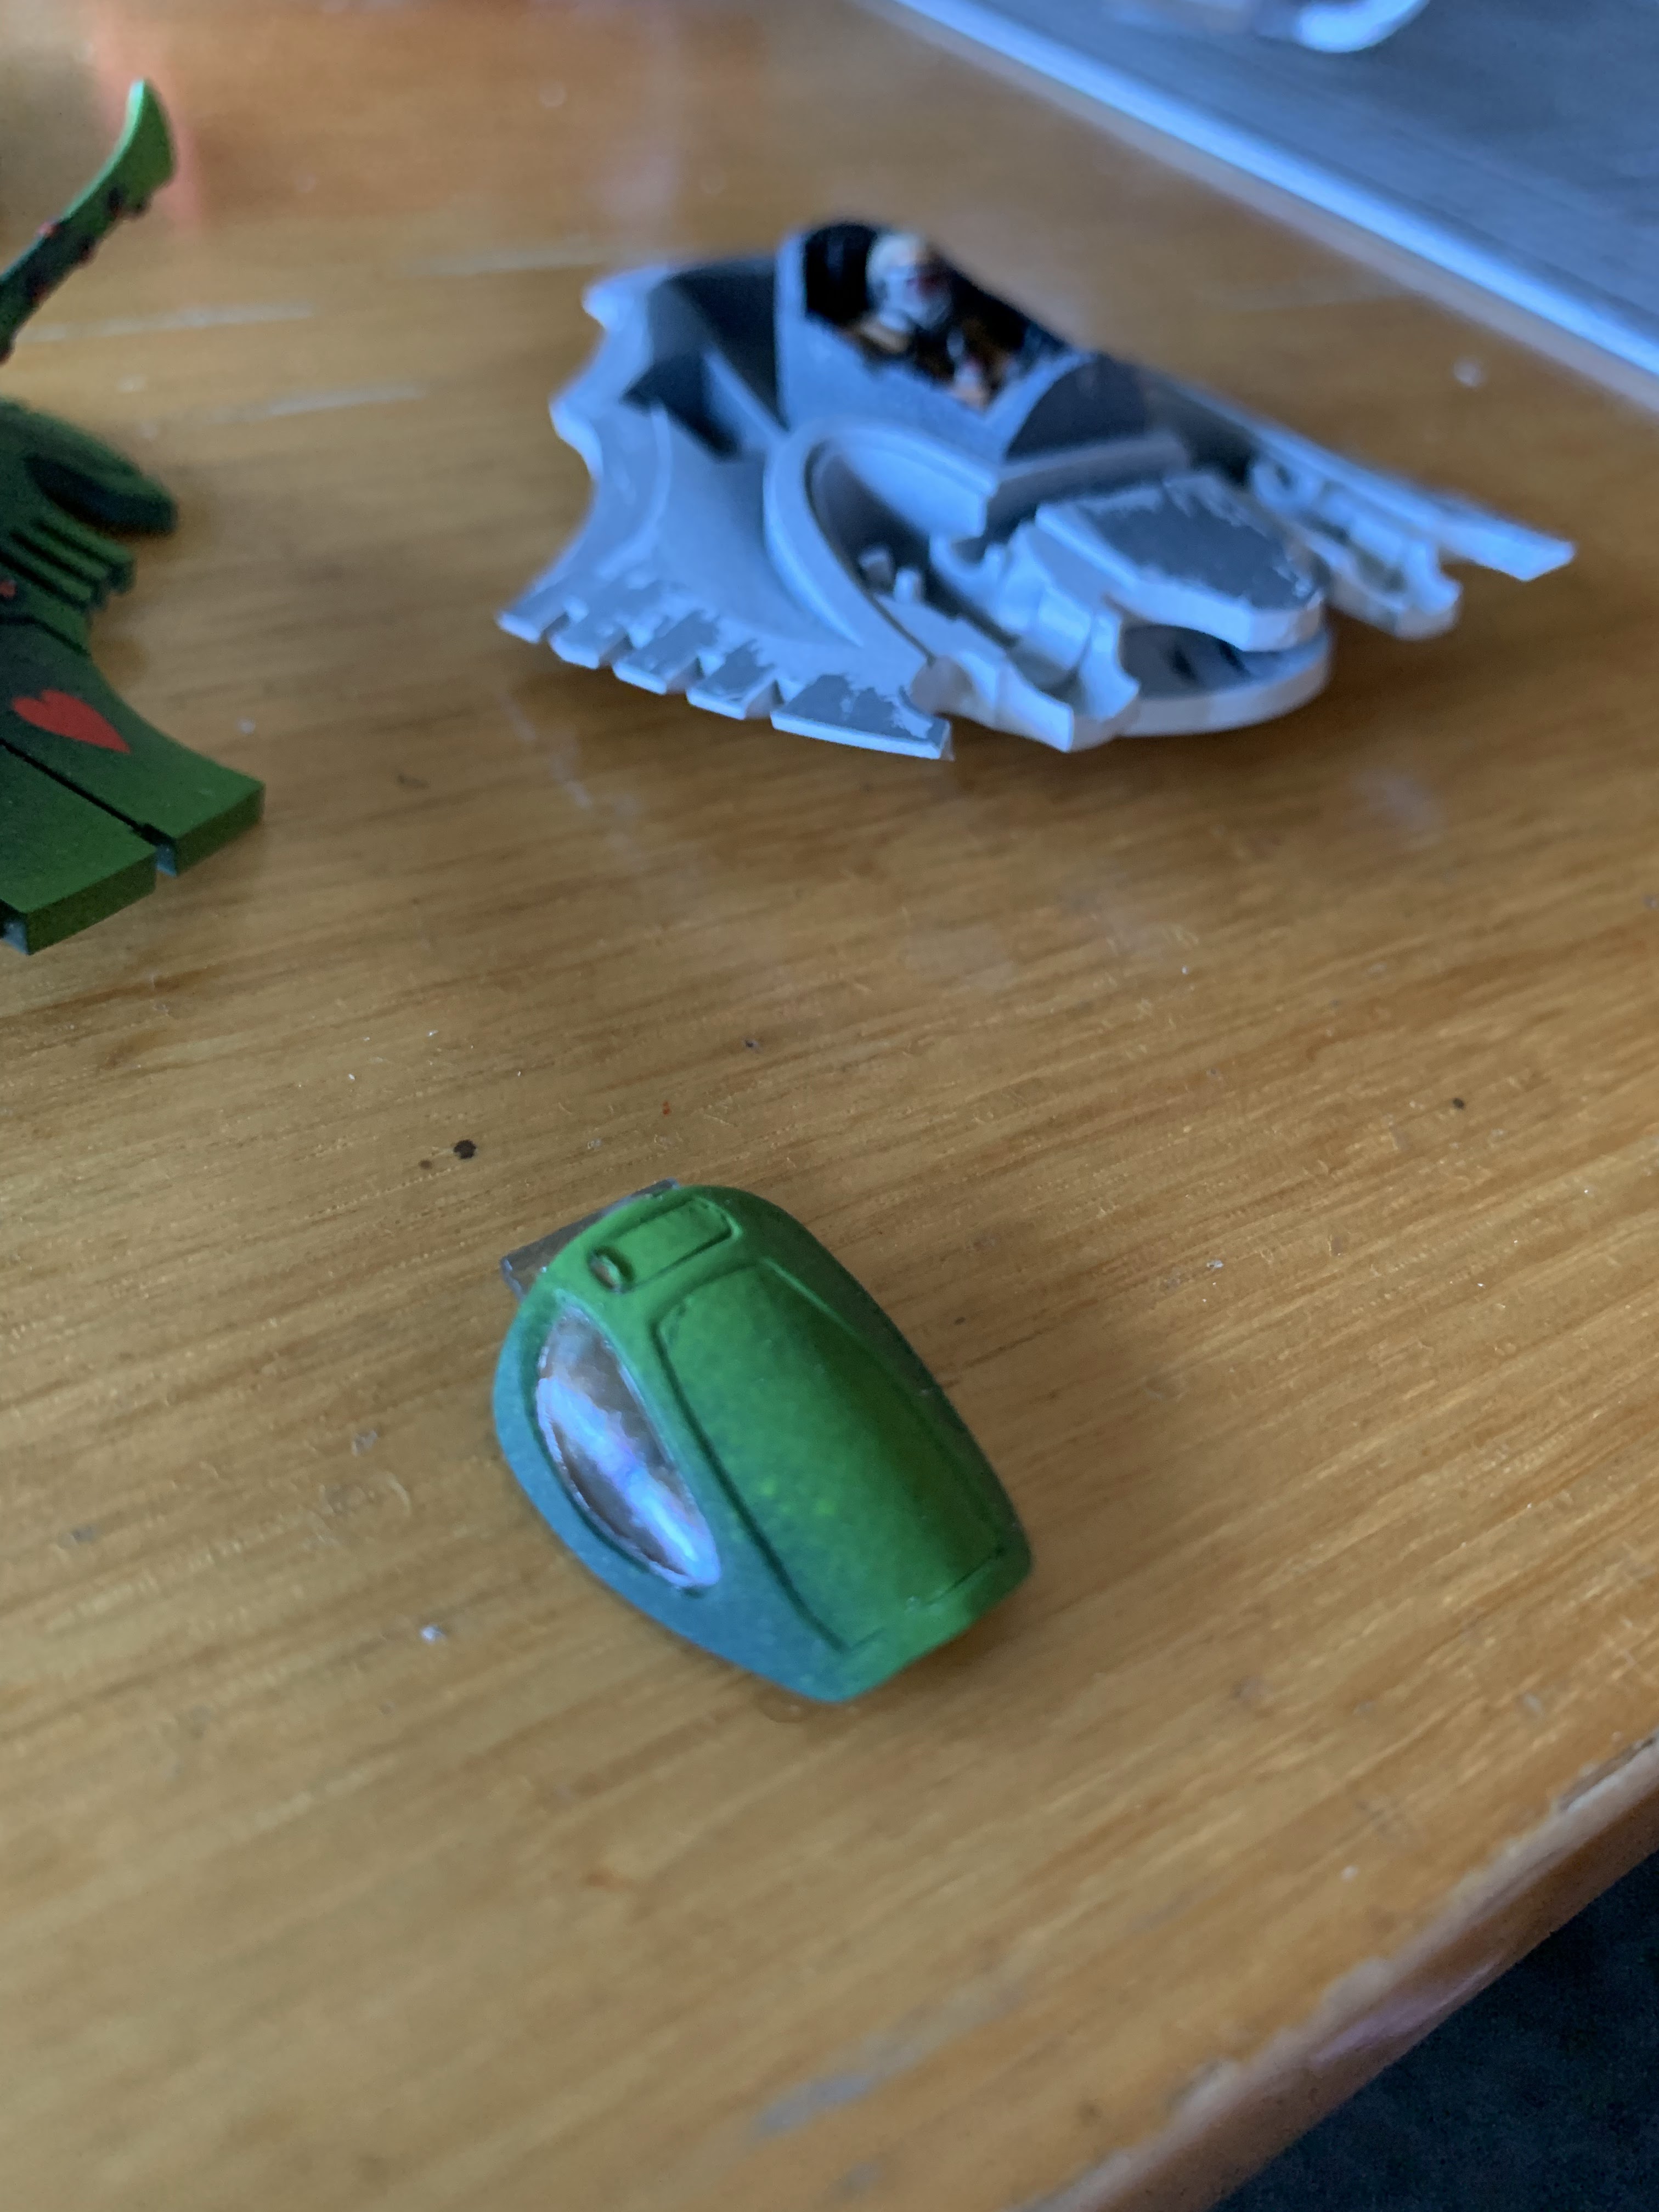
A few of the clear canopies were a little damaged - at least one just arrived like that, although I slightly broke one during the airbrushing/painting steps. Most of the other canopies are hinged and will be openable on the final tanks - these ones need to be glued permanently into place.

Clipping away the dodgy pieces.

A thin line of micromark canopy fix around the edges before dropping into place.


There is a little bit of white glue visible at this point - but it dries clear and is barely noticeable once done.

One of the fire prism gunners was glued very slightly out of alignment and the canopy wouldn't close properly. So out with the clippers again and this one will be glued shut in the right place.


With all the hulls and turrets glued together, everything can sit nicely on the bases and the three front tanks look effectively finished.

The wave serpents still have a small bit to go - attaching the unique fins at the front.

I had eventually decided to paint the big bumps as gemstones in red - came up ok. Each one is a slightly different length so doublechecking to make sure they are in the right order.


These have been added on with a tiny line of superglue on the back of the fin.


Very happy place now.


I've not completely finished the magnetised turret weapons - there are something like 50 of these. Most have had the gem areas painted black; for the moment a few sample items complete the setup (if you don't look closely).


The two halves of the main crystal weren't glued together - I found it easier to slip one half in and then wedge the other half in. It's tight enough to stay in place.


A bit more canopy fix around the edges and then dropped into place.


The finished version of the tanks with spinner loadout.


The spinners pulled off showing the mountings & magnets.

Fire prisms loaded in and looking pretty cool.


That's it - all done and finished. The tank designs still hold up really well after ~25 years and I've been pretty happy with the colours. Since virtually all the highlighting is done with airbrush, the painting scheme is pretty quick for the size of the models. They look good next to the wraiths & guardian platforms and carry over a similar balance of green/white. Adding thorn designs would have been fun to do but added a heap of extra time while potentially overdoing the detail.
Next project will swing from the big and quick to the small and detailed - plan is to work on a large number of seers. Farseers, warlocks... collected over many years and ranging from pewter to resin to plastic. The challenge will be to get them all looking consistent and thematic while covering literally 35 years of Eldar variety.
No comments:
Post a Comment