This is where I finished up with the last post - tanks are all fully primed and the greens have been airbrush coloured. The more laborious steps now start and everything switches to a brush.


These areas then have a nuln oil wash to add some shadows. It does knock the bright silver down somewhat but still looks less worn than my stuff from the imperium. Side by side to show one with/without the shading. While shading the silver metal areas, I'm also going around and carefully pin washing the panel lines with black. I would usually use biel tan green to shade recesses on troop armour or similar - the tanks need a punchier level of contrast.


Similarly - now moving onto the black bits with a side by side. All the gemstones have been blacked out with slightly thinned abaddon black. I've gone for the 'more is more' approach for these tanks and done basically all of the bubbles on the hull.


There are a lot of other pieces that get similar treatment - these are the magnetised side weapon covers for the serpents & falcon.

The spinner attachments have bright silver and nuln oil on the cover plates, then I'm detailing in the black housings for the spinners themselves.


Working from the inside out - the main thing is to get a (reasonably) straight edge against the purple; do this for both edges and then join up any gaps on the 'rough' edge down the back of each spine.

These have been dropped on with the magnets for a look - the black will make the overall look a bit more subdued.


Then line up a layer of masking tape on each side of the 1cm strip. Removing the middle strip will then leave a nice, neat, perfectly measured space in the middle where the stripe will go.

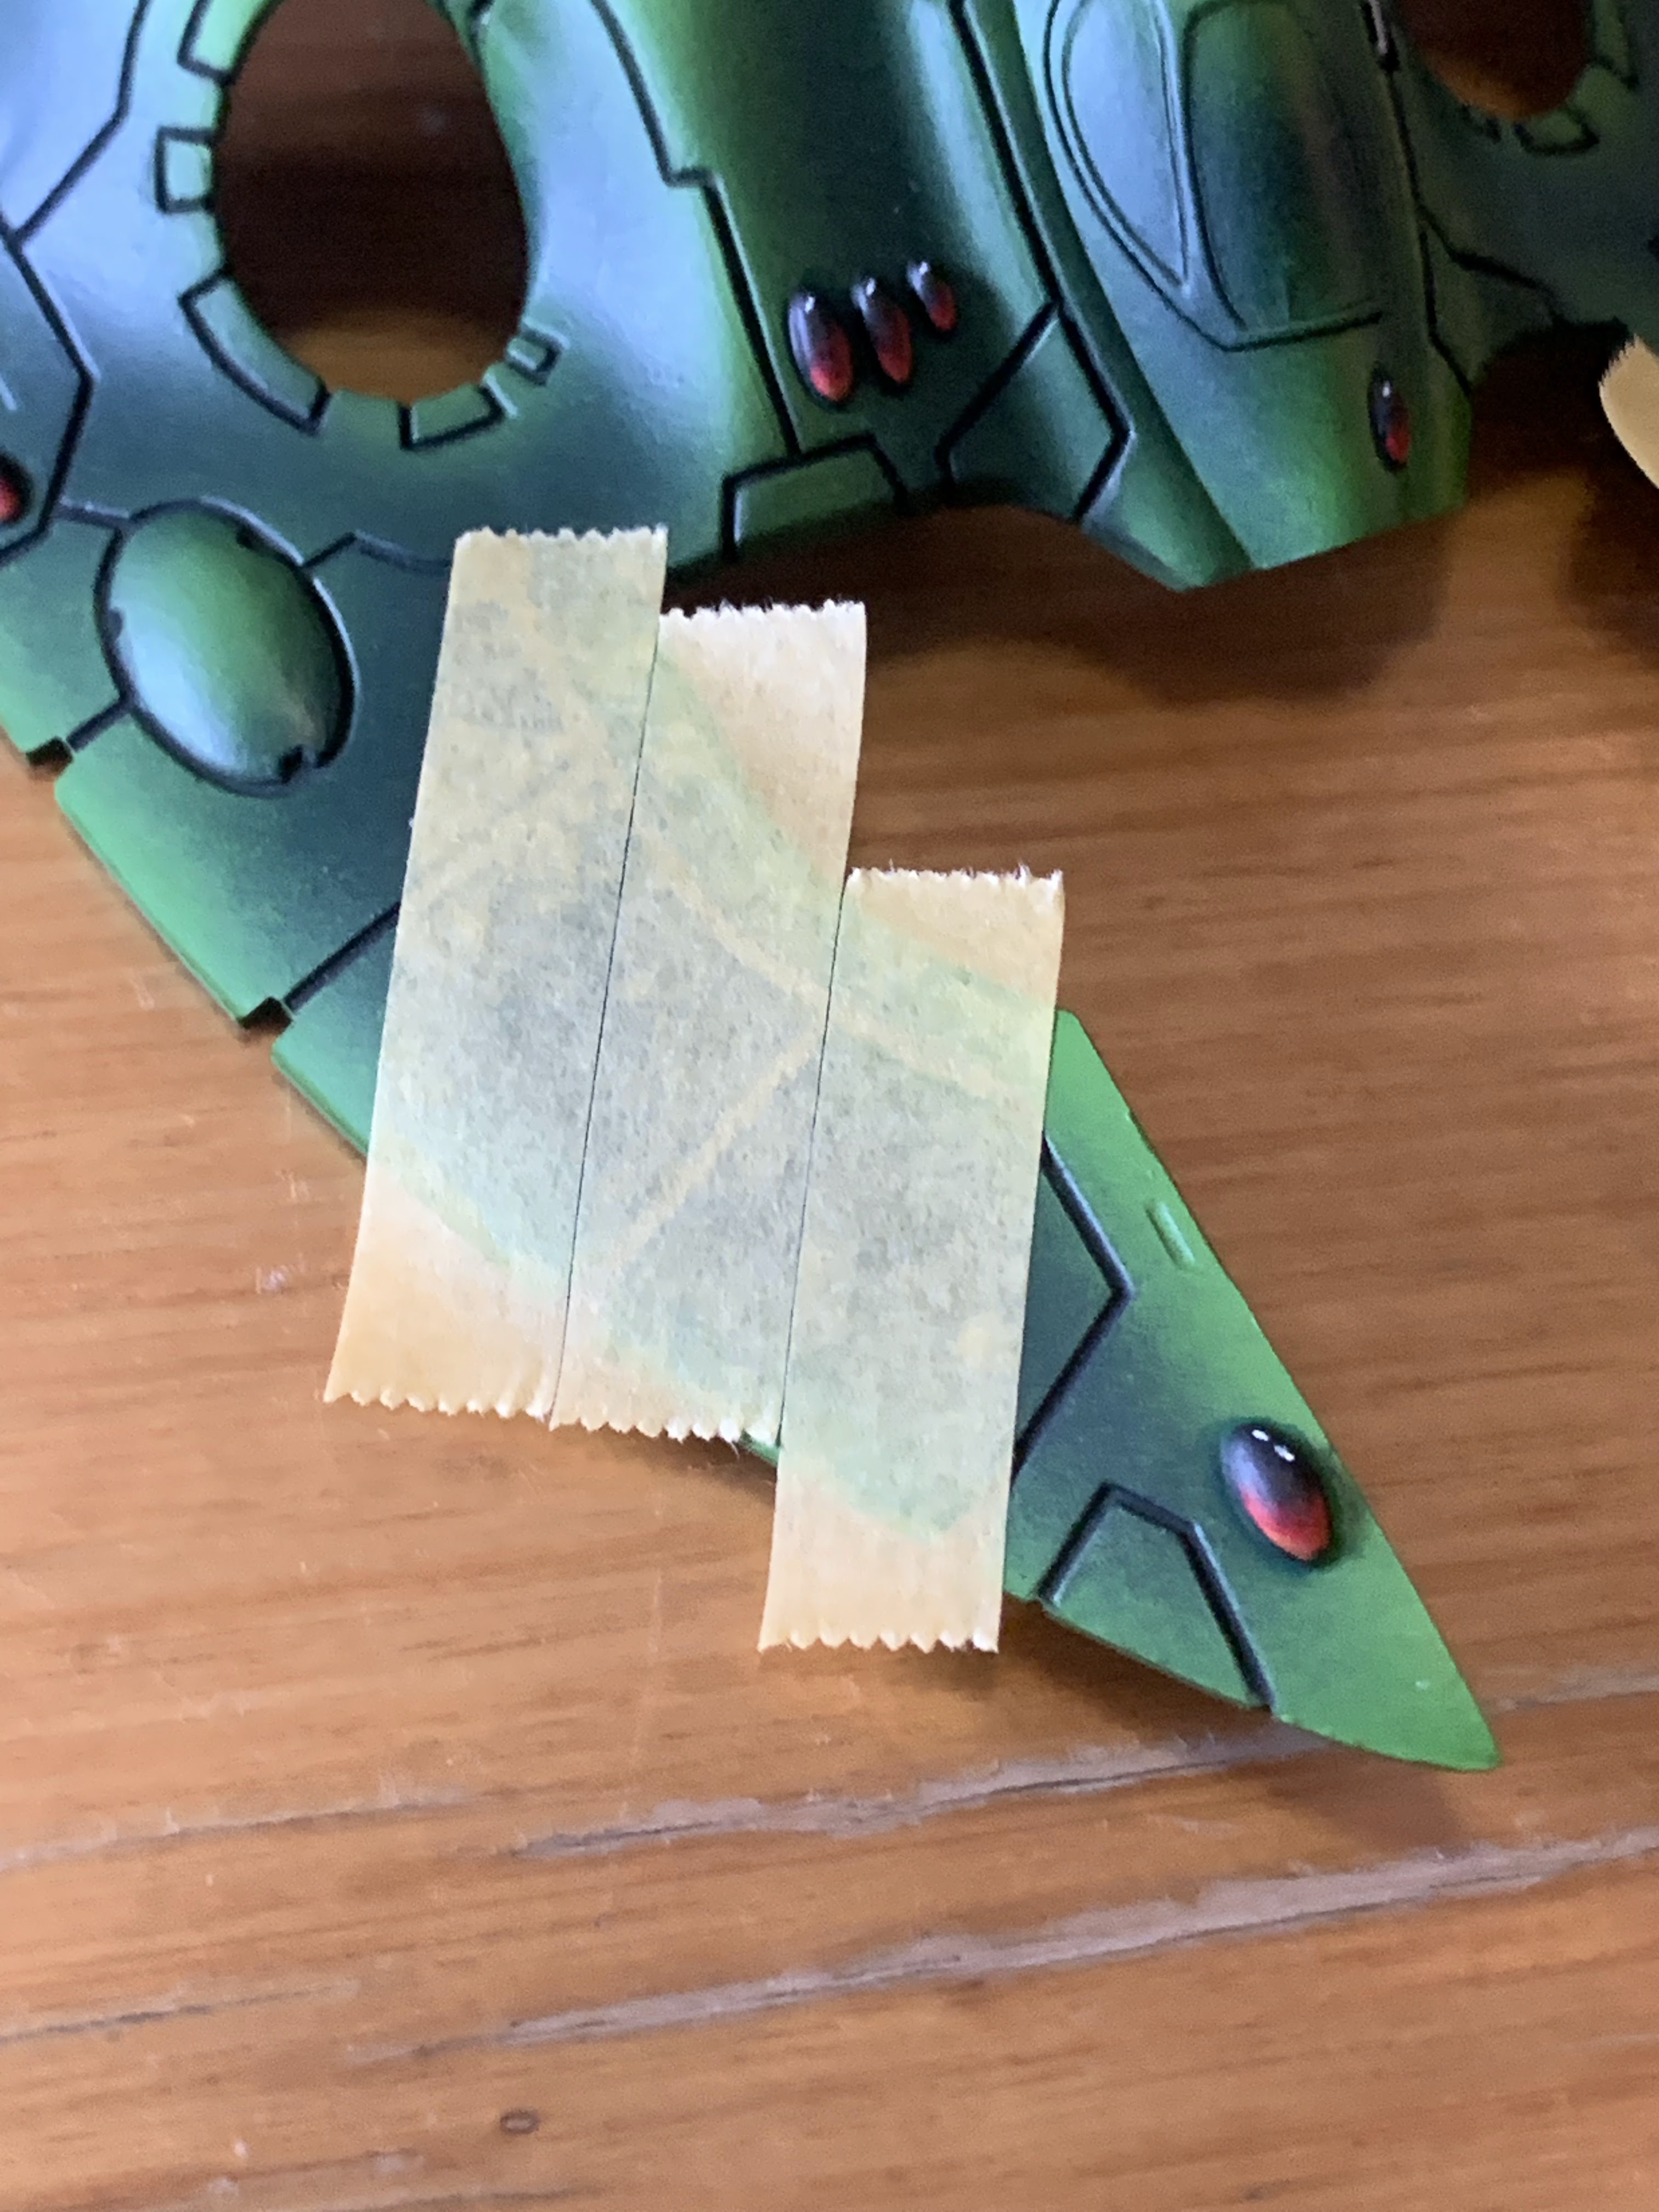


The two prism hulls are getting a single big stripe - keeping in theme with my weapon platforms, I wanted to add 2 stripes (and a little more variety) for the falcon. The process starts the same - place the centre strip, use this to place the mask at the back closest to the main hull.

Then pull away the centre tape - the back strip will be in exactly the same spot as the fire prism versions.

I've then put a half-width strip in the same place as a spacer.

The actual masking for the middle is then a 2mm strip of tape
(cut from a thicker strip with scalpel).
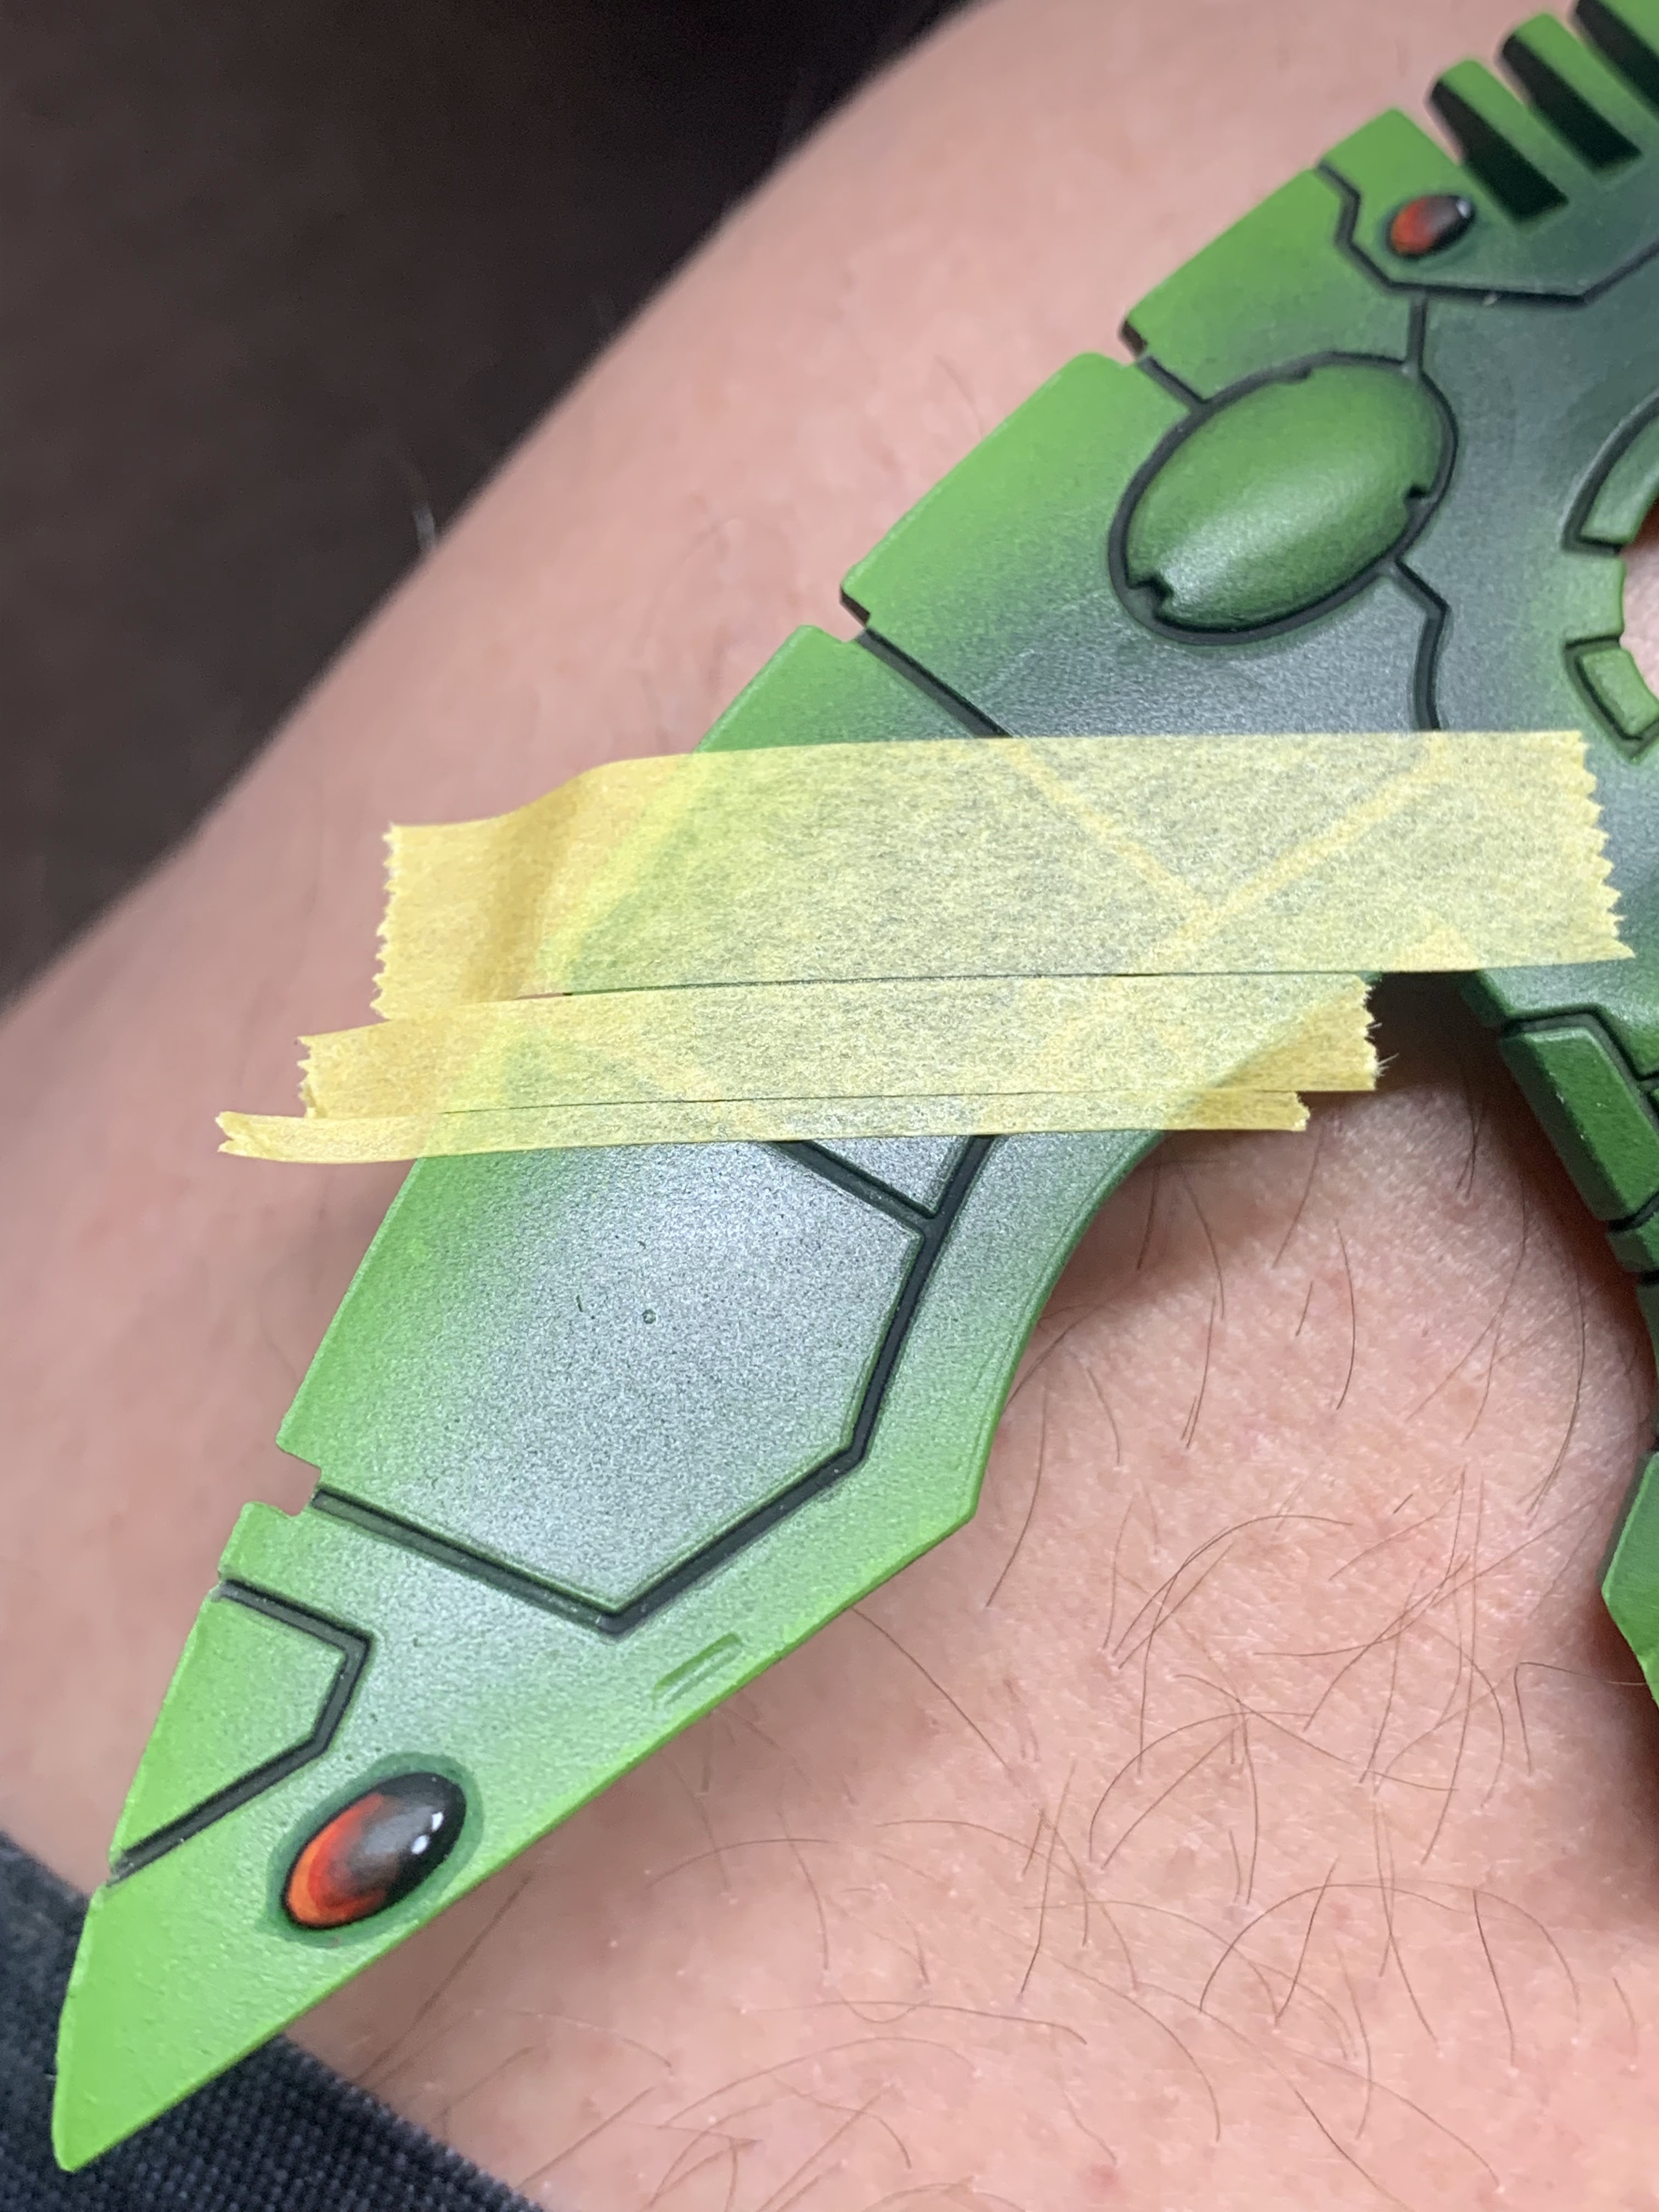
Remove the 5mm spacer and stick it on the other side. Add the final piece of masking and we have a nice 2-stripe design ready for painting.


If I'd been a bit more decisive/organised - it would hav been much easier to airbrush the hull white and mask the white stripes off *before* doing all the greens. Doing it retrospectively is a little more effort, particularly as white paints can have terrible coverage. I've started with grey seer as it's more of a base colour, but also as it's slightly drier than some of the white layer or airbrush paints. By stippling this on first, it should also help seal the edges of the tape so the wetter white paints on top won't be able to seep under the tape.


This took a surprisingly long time to do - both the grey and white scar have pretty terrible opaque properties over dark green. I must have taken 3-4 layers of grey seer to cover the green, and then another 3-4 layers of white over that to give something sharp. Even then, there is a slightly mottled look with a hint of the grey poking through.

The effect though once the tape comes off is pretty sharp - no real paint seepage, and because I was careful around the panel lines, there weren't any big errors with white paint going into the crevices.


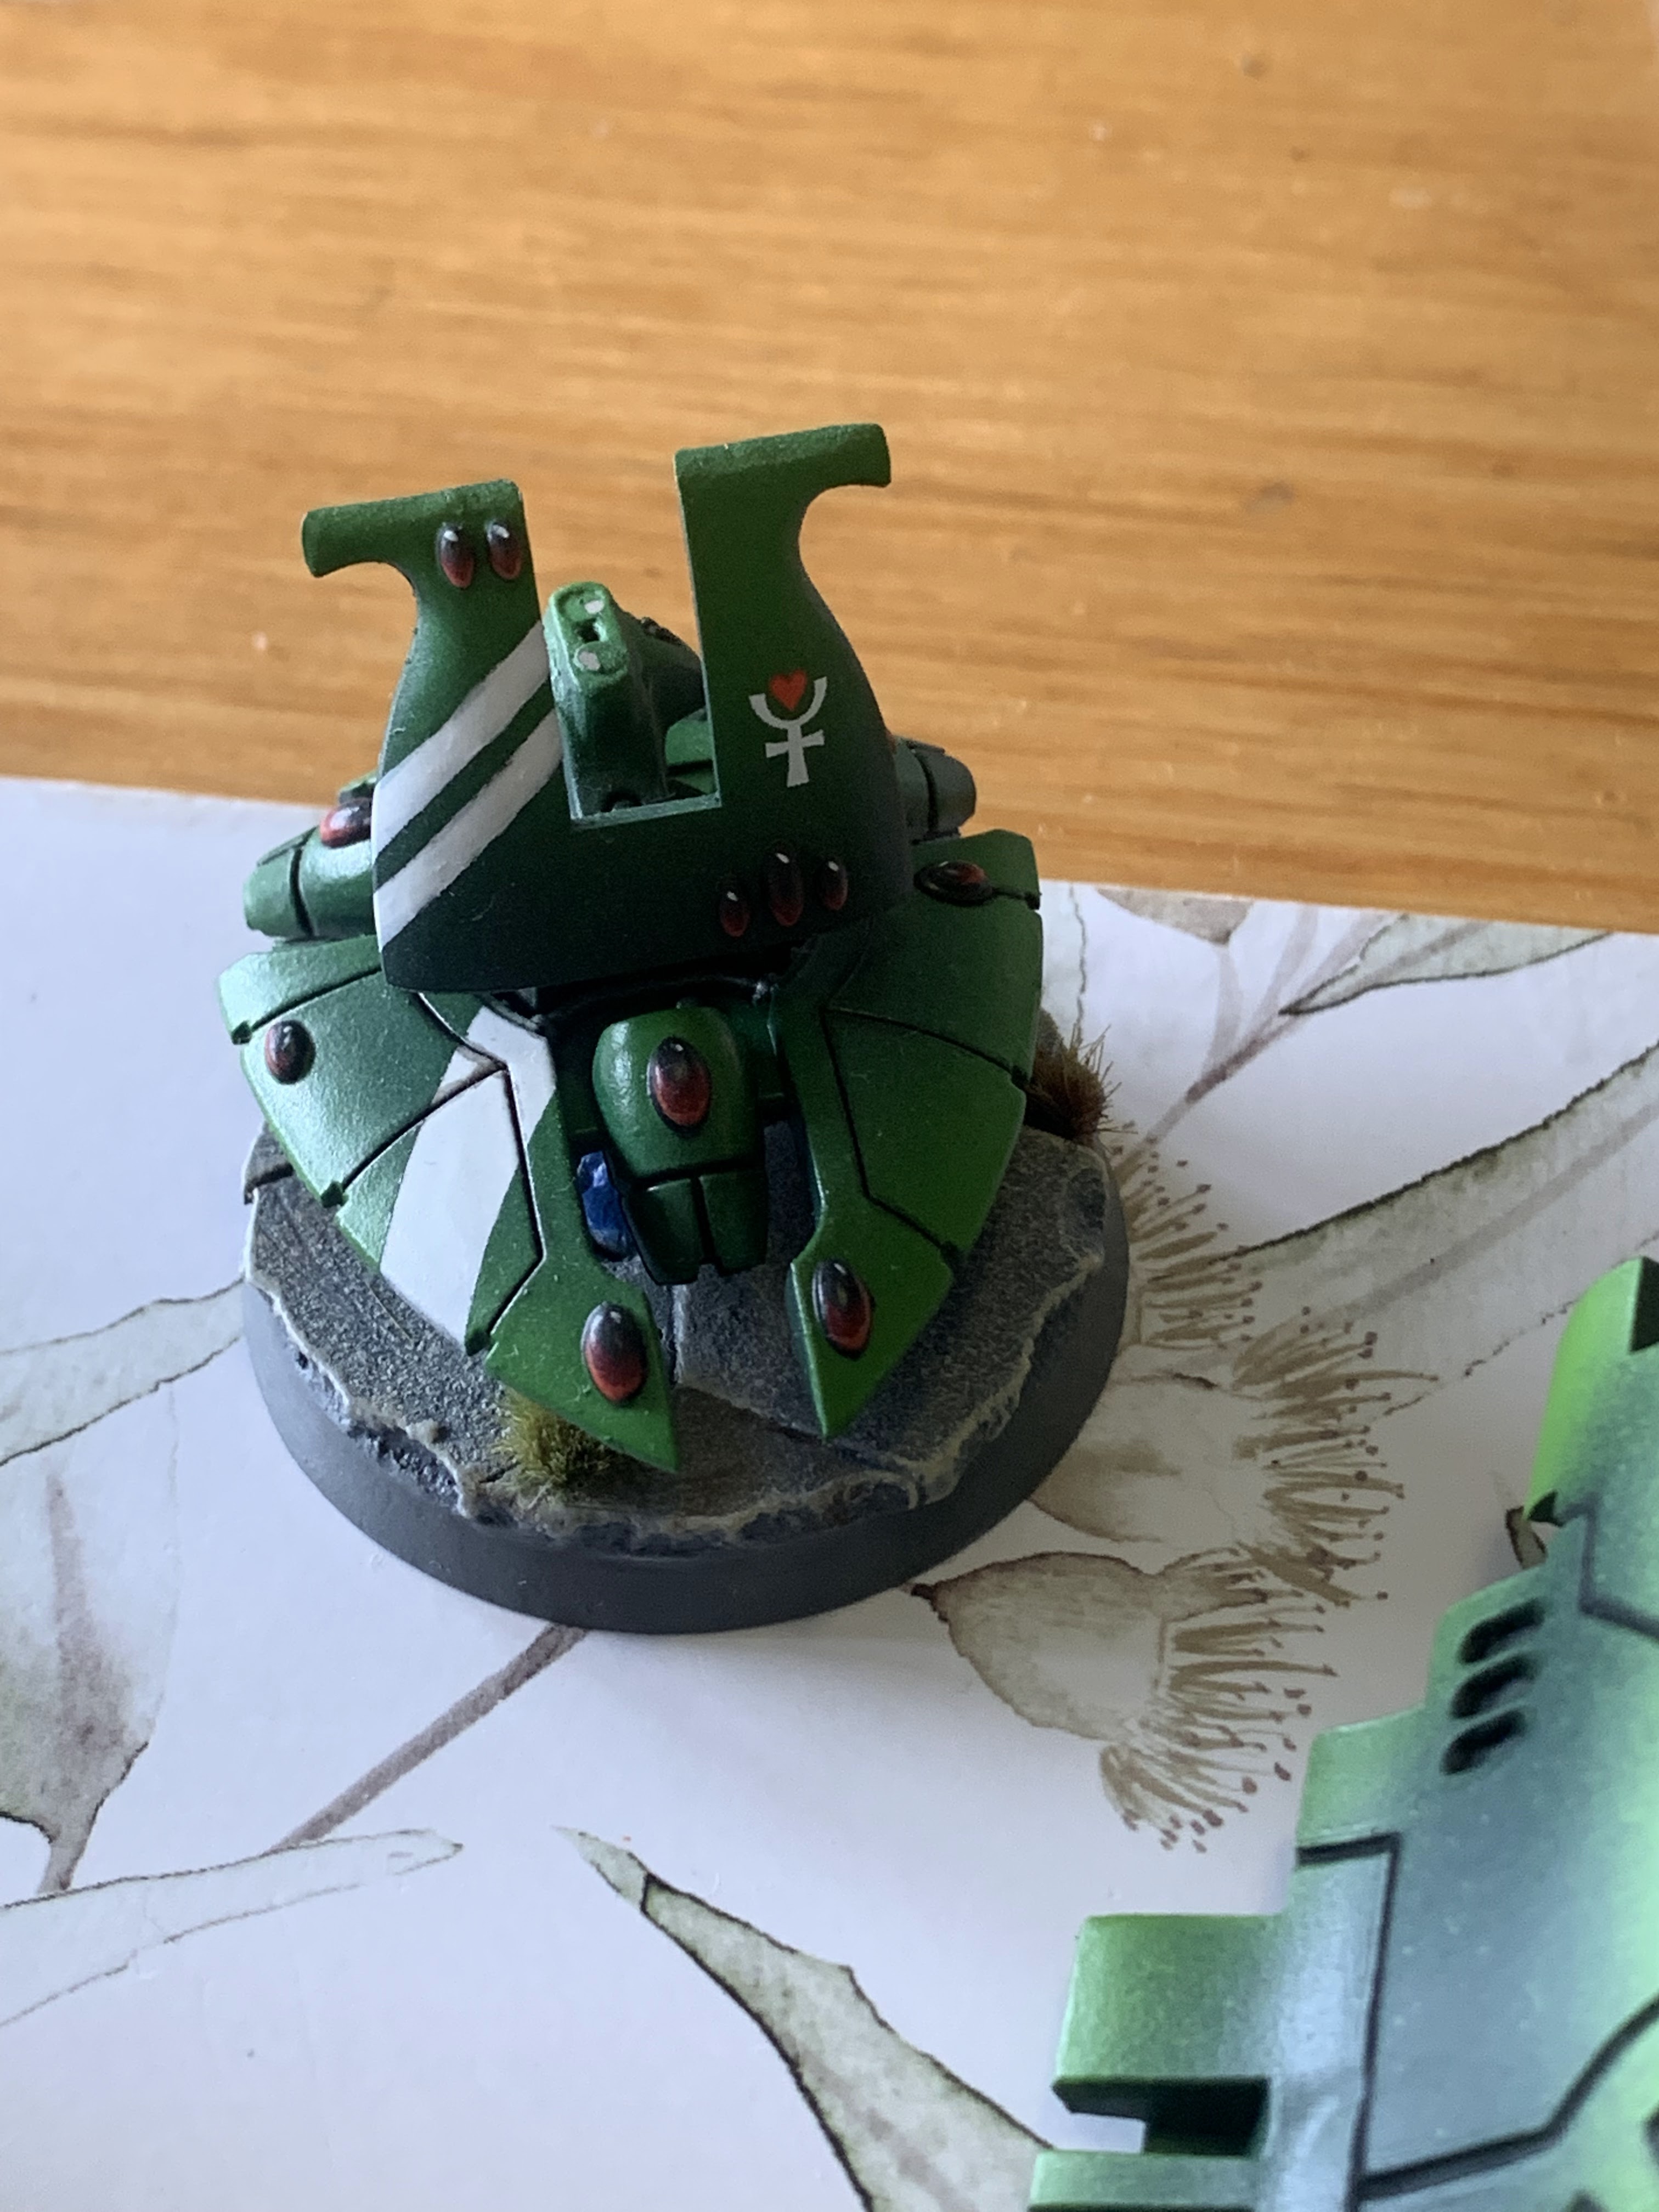
I had a bit of a play around with the different loadouts and magnets - the details like the spinners stand out well against the white/green.


With the stripes done, that is actually just about all of the painting finished. There is still quite a lot do go with decals, final coats of varnish and assembly. Even now, they look fairly well polished though and would match the rest of my army pretty well on the tabletop.
No comments:
Post a Comment