After a rather mammoth amount of construction work to get the tanks cleaned up and magnetised... we're now moving onto all the priming and big airbrushing.

I'm aiming for a slightly quicker round of painting; most of the tanks should be kept to airbrush with only a few finishing details that will need a brush. Round 1 will be to do all the white parts & crew compartments. A second session with the airbrush will be all the upper green pieces.

This will make several items much easier to do while separate - the wave serpent fins in particular are much more suited to being airbrushed (white) before gluing onto the main hull.


The lower hull 'tubes' get a solid white coating from above, and I've also quickly sprayed the engine intakes. Even though the engines will be painted black, they may as well get primer with the rest of the lower sections.
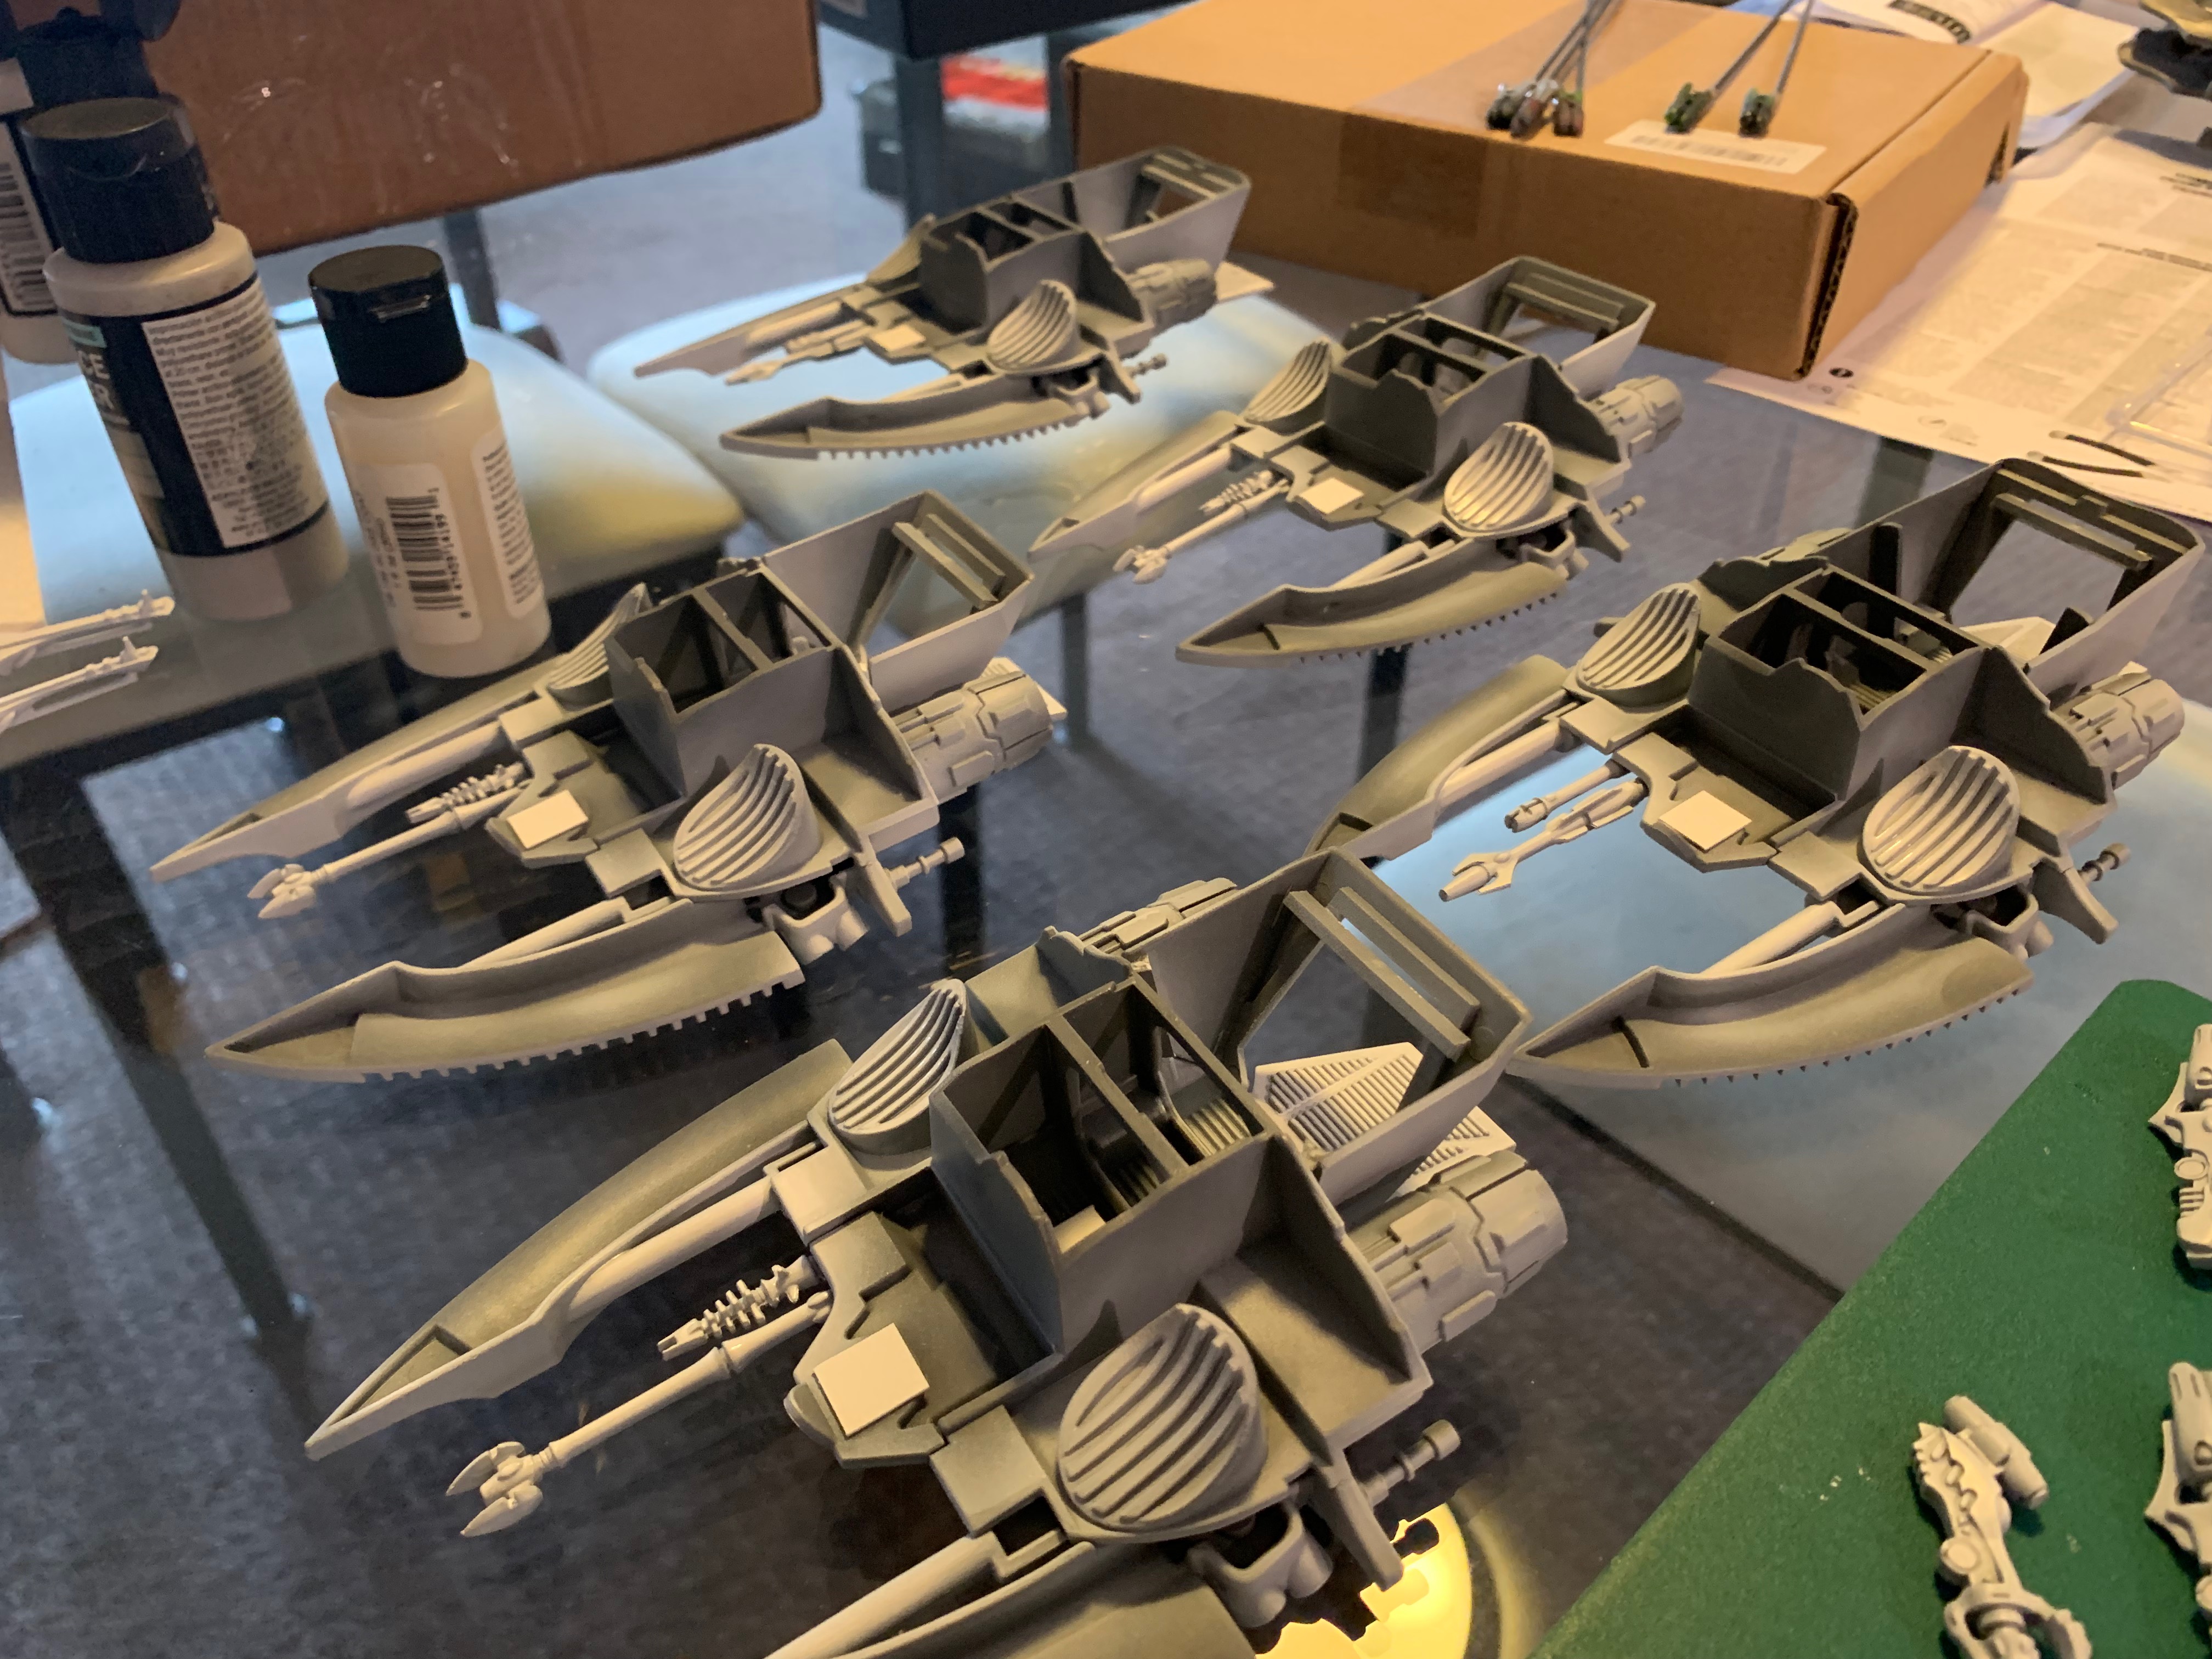


I do really like the vallejo primers (mostly); but have yet to find a pure white primer that actually sticks well. As with some previous pieces, I've found it better to start with a grey primer for 1-2 light coats, then go over this with white. Even then - it took maybe 3x light coats of white primer to get the hull up to a solid colour; and it's still not a pure titanium white but rather a very slightly grey colour.


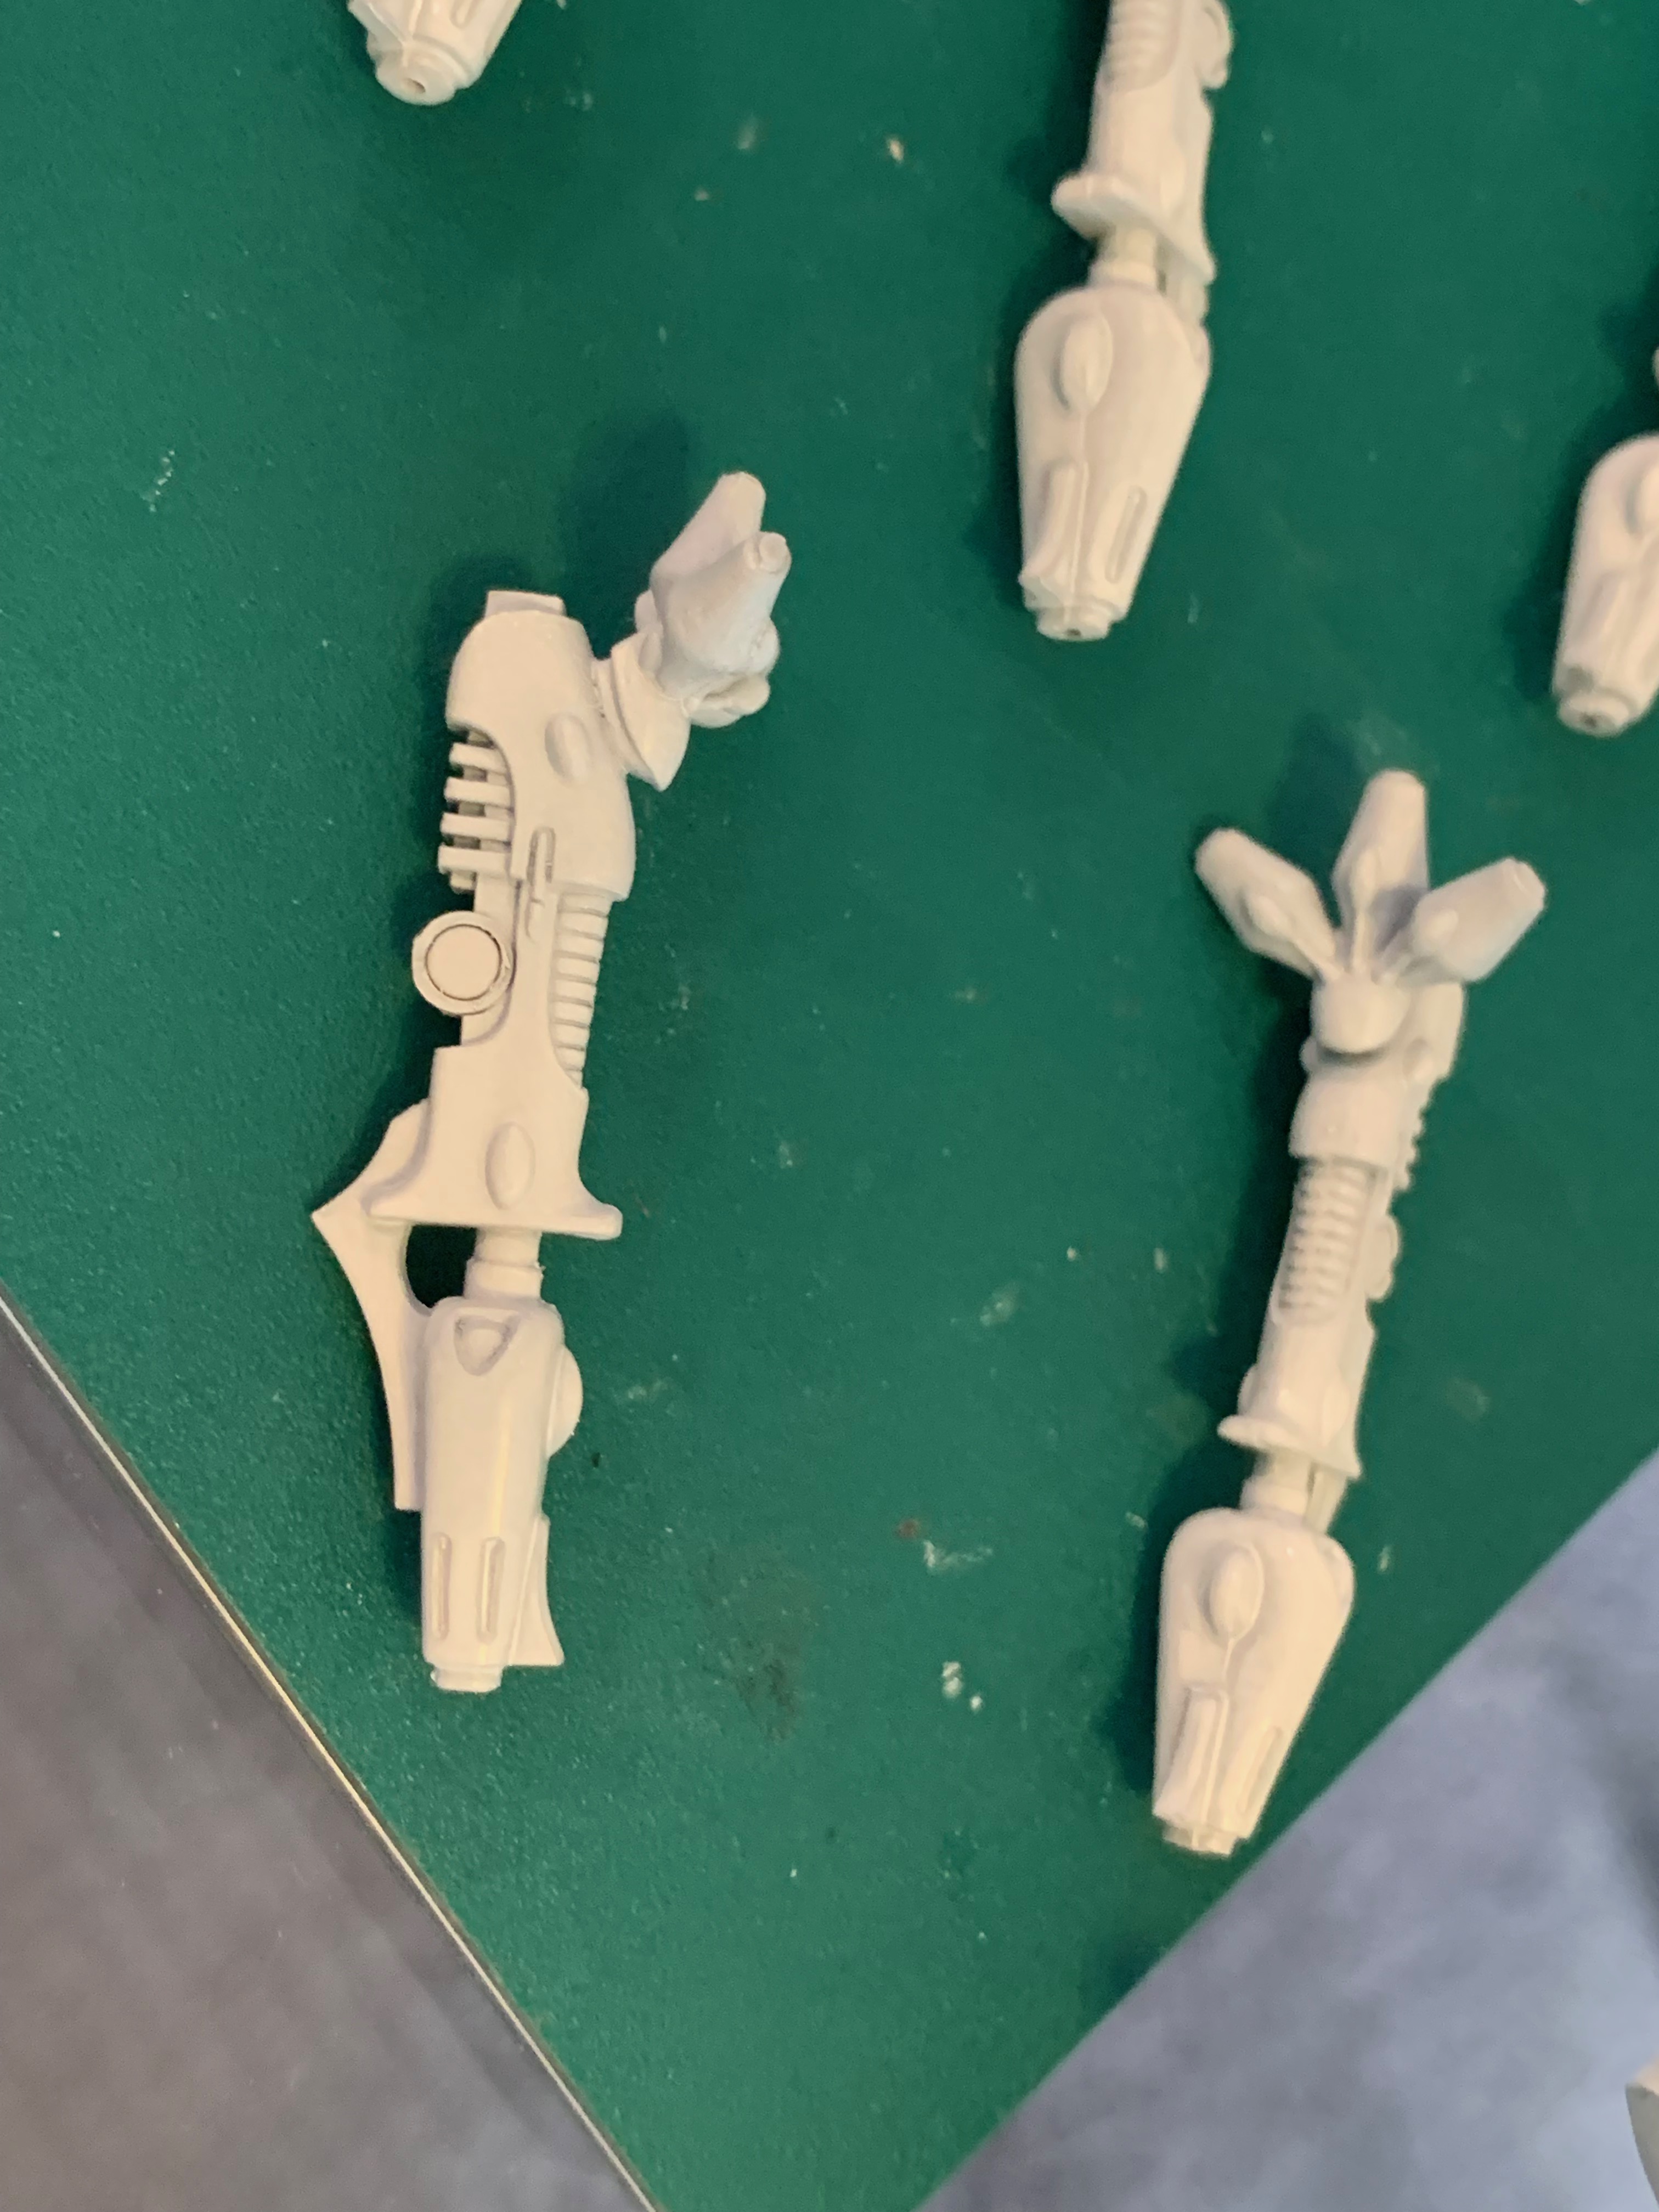
Hordes of weapons. The 2 wave serpents, plus the falcon each came with 2x heavy weapon sprues - so 6 copies each of the 5. Then 10 options for the driver compartments. Everything done in white then gets a generous layer of gloss varnish to protect the more fragile layers.


There are 5 driver and 3 gunner compartments (8 total) which each have a clear canopy. I'd actually done some of canopy masking earlier - along with the war walkers, each of these got a spray with pledge floor polish to 'glassify' the finish. Then some tamiya tape carefully applied and trimmed with a new scalpel blade.


Repeat multiple times for the individual window panels.


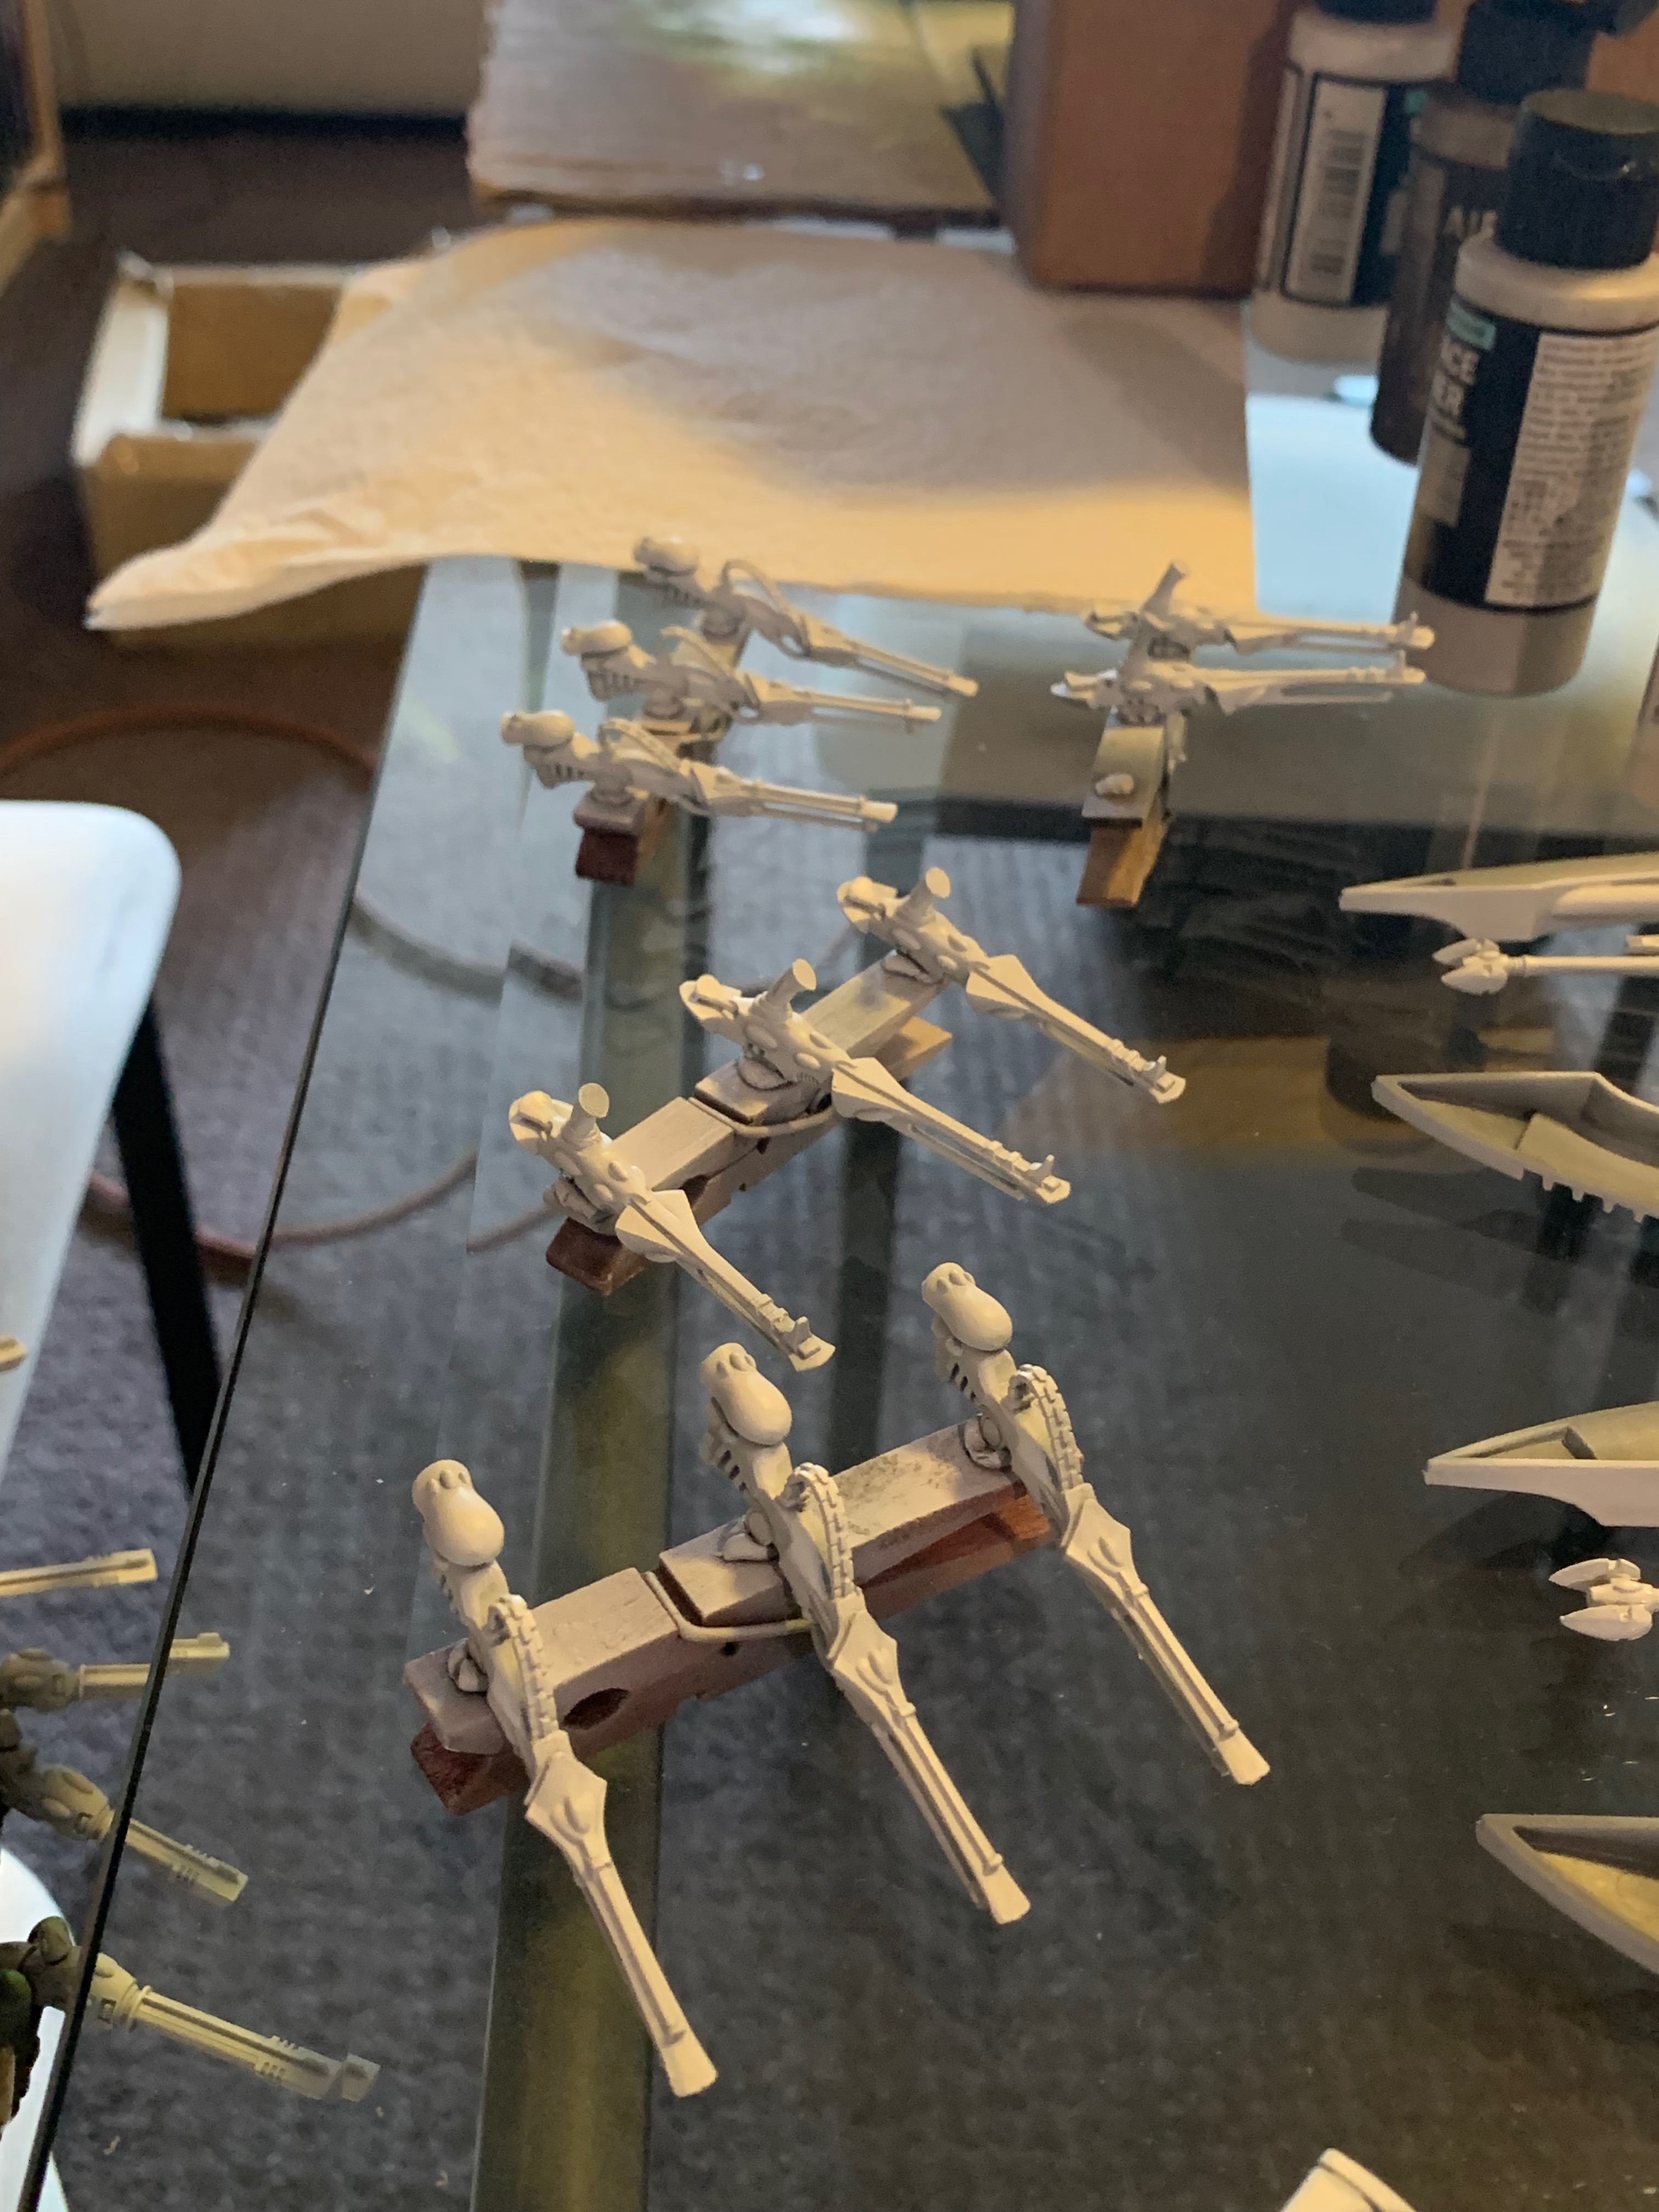
Partly cheating here - I actually painted the pilots while working on the wraithlords (which can be seen at the back). Black primer, grey primer from above. Panzer aces new wood for the outfits, kislev flesh heads, leadbelcher metallics. The leather gets an agrax wash, faces with reikland flesh shade and metals with nuln oil. Random switches and the face visors have been painted red, and the little screens in the cockpit with blues. These are pretty rough - they will only be visible through the canopies so much more detail than this would be wasted.


The bigger parts of the hulls are getting blocked in - the engines with black contrast (which over white, will give the edges a subtle highlight), then the little thrusters just next to them on the sides. Not shown - the prongs/probe at the front get a similar treatment. Two coats of contrast is enough - I haven't taken the time to highlight these properly, so it's nice and quick.

Setting up for the second big airbrush push - upper hulls and basically anything that needs to be green. The most obvious parts (and the ones I've been looking forward to doing) are the main hulls. To make sure the highlighting of the canopies lines up, I've masking taped them from the inside exactly where they will be. So the join is less obvious later on, I've painted the edge of the grey plastic with a bit of brushed on black primer. Any tiny areas that the canopy covers up during spraying will still have a neutral black show through.


This stage also includes many, many individual weapon covers, housings and general bits.
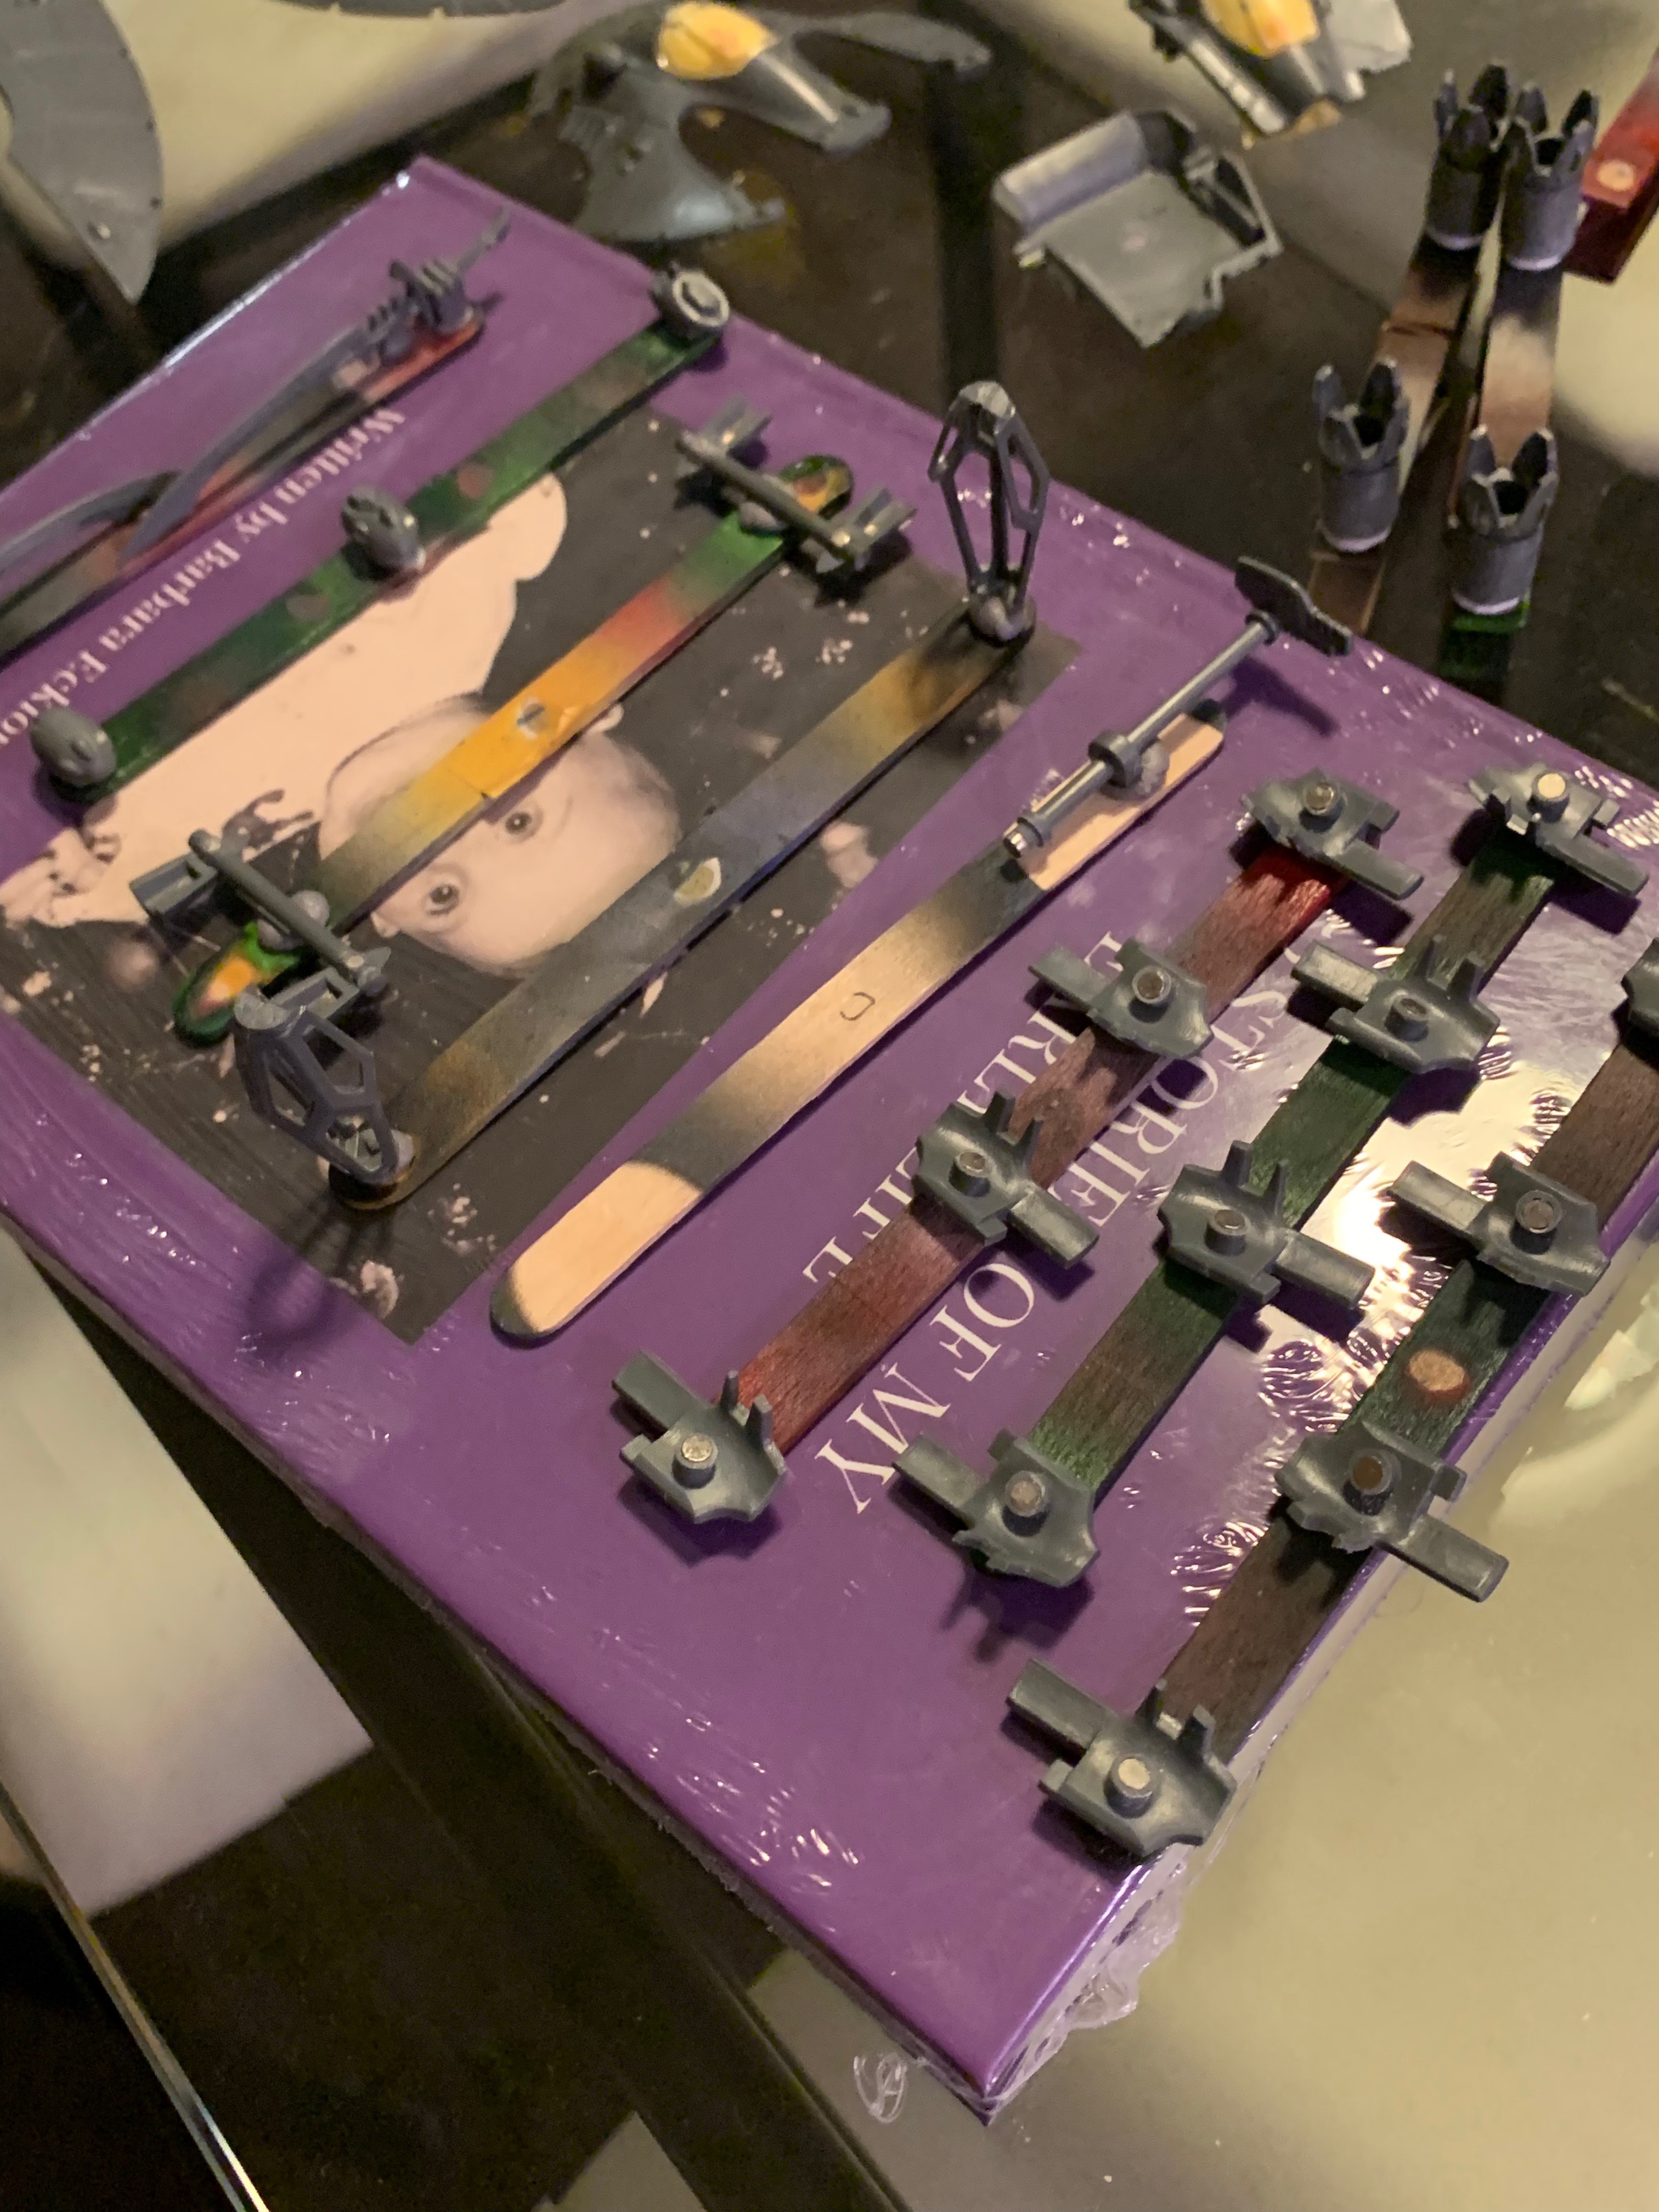

Extra weapons for my already finished war walkers and wraithlords are more complicated - I've been doing these in 2 stage colours (white half and green half). The white sections were primed earlier; they are being painstakingly masked over and the green areas will be batch painted at the same time as the tank hulls.


With all of these lined up, and a couple of uninterrupted hours to use the airbrush - black primer* followed by caliban green. The gunner turrets got a little bit of a test run before the bigger parts.
*Note to self - discovered that I bought a massive bottle of nato black, which is actually a dark green-grey. Still ok for my mostly green eldar but not as dark when doing other models.


The masking tape is (hopefully) keeping the windows nice and clear. I've been told that when using tape, spray the base colour first to help seal the edges. That way if any paint leaks under, the colour won't be noticed. The contrasting colour on top of that won't be able to get under the edge and you get a sharp finish. In this case - clear varnish first will help seal the edges of the tape and keep the greens where they need to be.

Repeat black & caliban green on many other parts.


Now the really fun part - the first 2 have had a layer of thinned down warpstone glow airbrushed onto the edges and engines. The middle tank has then had moot green air paint over the top of that. I thought that the warpstone would help give a nice transition, but in practice the highlights are relatively small and I was getting a nice enough transition by just thinning the moot green (a LOT) and building up the edge with 3-4 passes.


This colour makes me pretty happy. I've had the plastic parts kicking around my desk over about 2-3 months of cleanup and magnetisation. Suddenly in 20m it takes on a whole extra depth, and starts to look a lot more like the finished product.

The walker weapons have had their green layers applied and the masking tapes removed. There are a couple of rough edges here and there - to be honest, they may sit in a box for a while as I'll only paint the gems and details if I need to swap them in. Otherwise painting detail on 70+ weapons that may never get used feels like it can wait.

End of a productive session and there are green... things... everywhere.


More obvious in this photo is a layer of gloss varnish over the greens. This probably isn't quite as critical as on the white primed pieces but will help get shading into small crevices, as well as seal in the main colour.


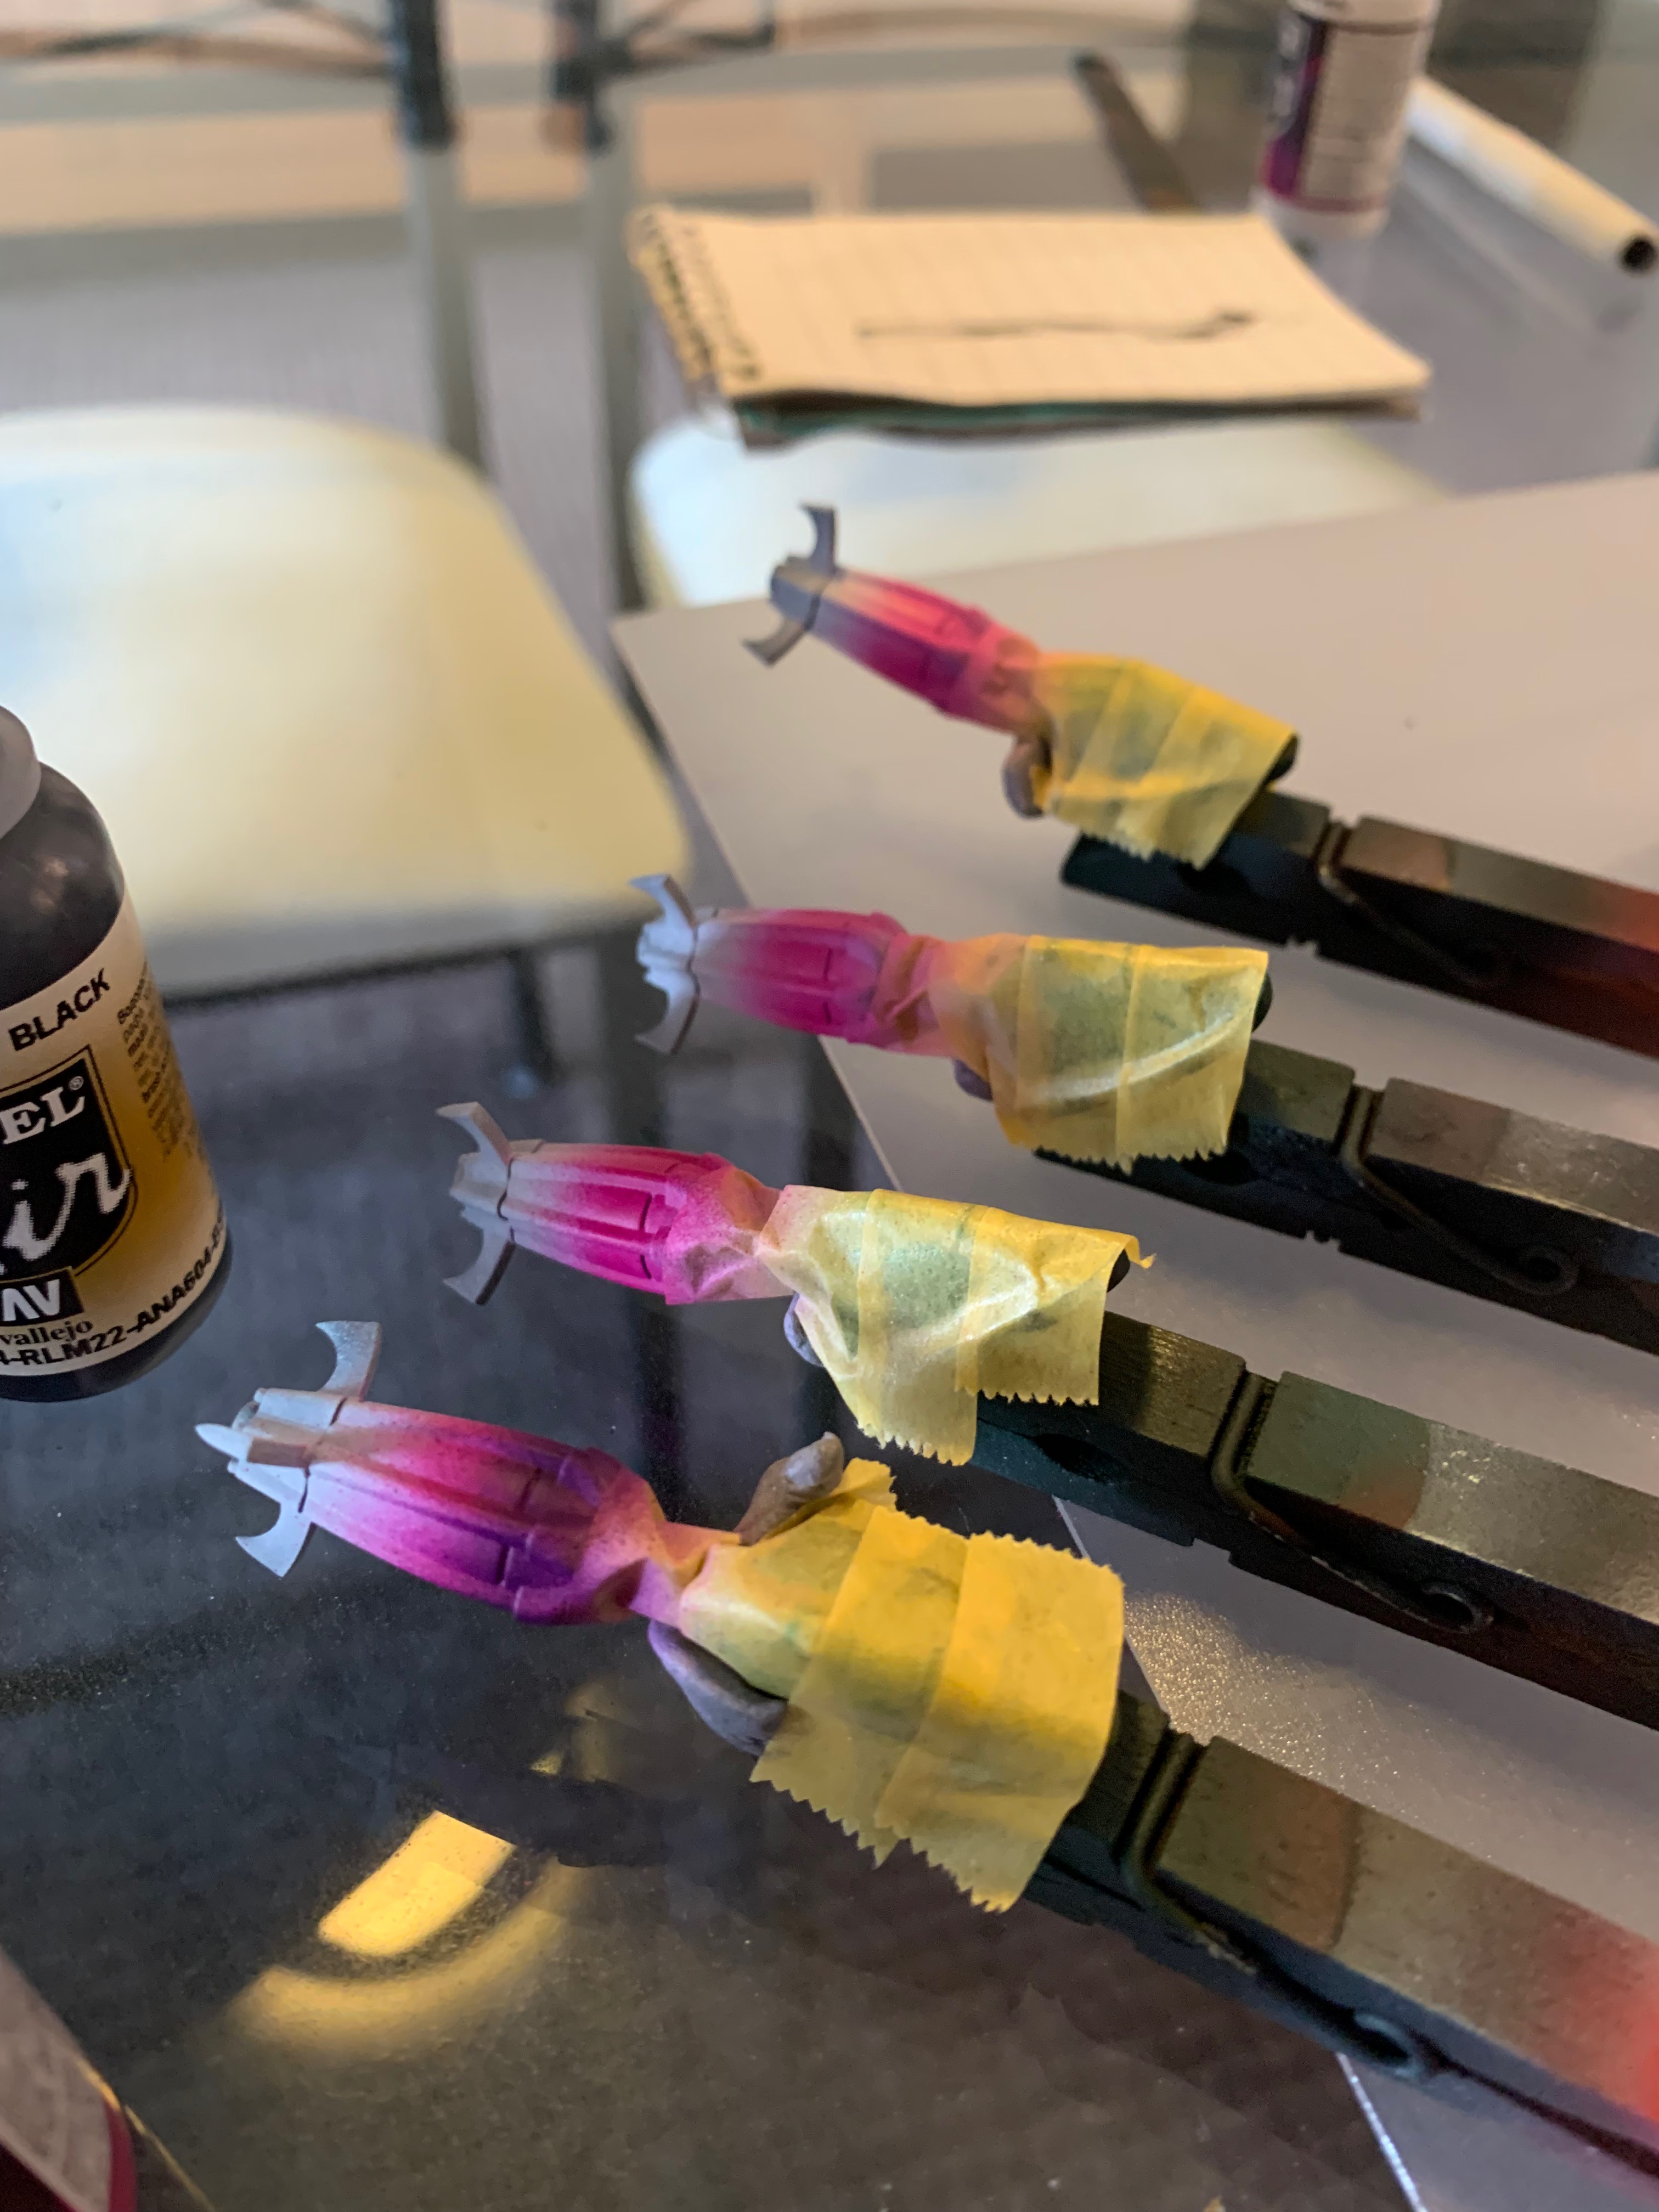
There is a little bit of crossover with my wraithlords - at the same time I was doing the purple sword highlights, I added some similar effects on the spinners. If I ever get some warp spiders for this army, the plan will be to match the colours (on a much smaller/harder scale). This is white base, squid pink, warlord purple and then hexed lichen. The hexed lichen isn't an airbrush paint so needs to be thinned heavily. It still speckled a bit when I was doing these - my patience to redo the 4 colours was not there... so the slight error will have to remain.


Swinging back to do the next step on the custom flying bases - these are 60mm resin bases from Dragonforge; and I need to put the acrylic rod as close to the centre as possible.

Maybe not the best way, but taking a compass at 30mm and making several passes from the edge in helps work out where the exact centre is. Some bases are very slightly elliptical, so there is a bit of judgement call and worth doing this from several spots around the edge.


I then set the compass to 35mm and do the same thing - this now gives me a centrepoint for the drill as well as the 10mm area that the rod will go into. I then drill a pilot hole all the way through, and use a dremel with a shaping bit to chew out the rest of the area (done away from camera in a garden area).
All of this would be much easier done with a drill press in about 20 seconds - but there you go. The long way around.

White detailed pieces are carefully recess washed with apothecary white contrast. This needs to be shaken frequently while using otherwise the grey changes shade as the particles settle.

I painted the big bumps on these with abbadon black and plan on doing them as gemstones. Having looked up a few old reference photos of some of the GW Biel tan tanks, I can see they have usually left them as white. Bit split now on whether this was the right call - leaving them white looks pretty sharp. Just I'll be buggered if I'm painting 4x more layers of white over the top now to bring that colour back.

On the lower hulls - lots of leadbelcher on the engines and movement thrusters. Plus recess washing here with apothecary white too. The metal gets a nuln oil wash to finish it up.

Still plenty more to go - this is a good spot to split the post and come back with the upper hull details and markings.
No comments:
Post a Comment